
Table of Contents
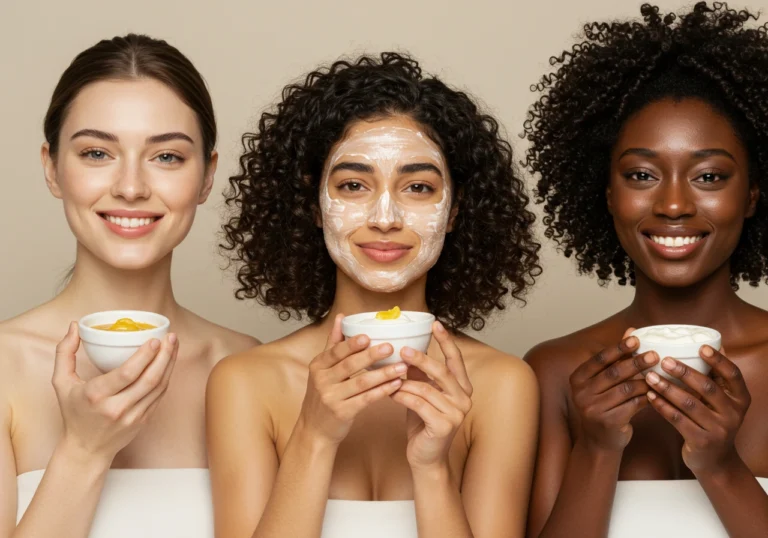
Tired of dull, uneven skin that feels less firm than it used to? You’re not alone. The good news is that the solution might be hiding right in your kitchen pantry. These five homemade face masks can help restore elasticity, boost hydration, and reduce the appearance of fine lines – all while giving your skin that coveted natural radiance.
After years of experimenting with homemade skincare remedies, I’ve discovered the perfect blends for truly revitalized skin. The secret lies in using fresh, natural ingredients that work with your skin’s biology rather than against it.
In this comprehensive guide, you’ll discover five powerful face mask recipes, detailed application instructions, expert tips for maximizing results, and answers to frequently asked questions. Best of all, these masks use simple ingredients you likely already have at home.
Why These Skincare Remedies Work

When it comes to achieving that coveted radiant glow, these homemade masks offer advantages that many commercial products simply can’t match:
- Formulated with gentle, skin-loving ingredients that nourish from the outside in
- Support optimal hydration and natural luminosity without synthetic brighteners
- No harsh chemicals, preservatives, or artificial additives to irritate sensitive skin
- Fresh ingredients deliver potent antioxidants directly to your skin
- Customizable recipes allow you to adjust based on your unique skin needs
- Cost-effective alternatives to expensive spa treatments
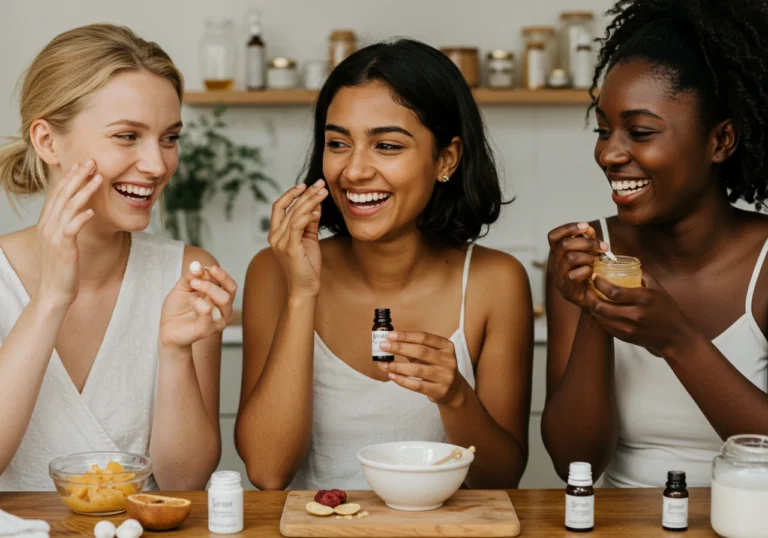
Choosing the Right Ingredients
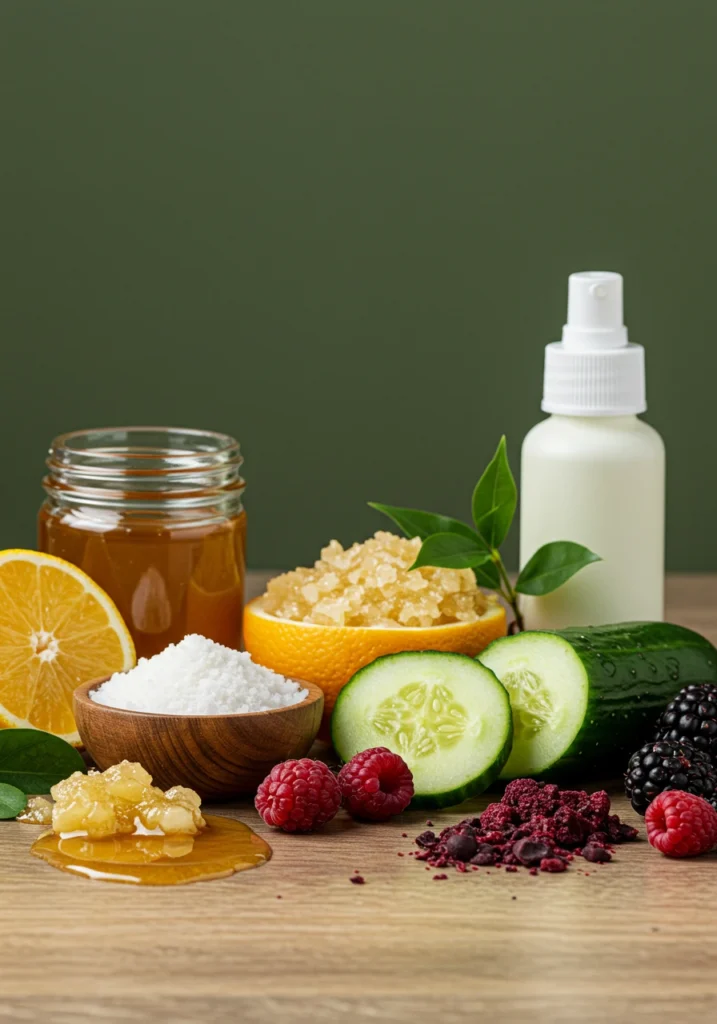
Top Ingredients for Skin Renewal
- Honey: A natural humectant that attracts moisture to the skin while providing mild firming effects. Raw honey also contains enzymes that gently exfoliate.
- Avocado: Rich in healthy fats and vitamins A, D, and E for deep nourishment and improved elasticity.
- Yogurt: Contains lactic acid for gentle exfoliation and probiotics that help maintain skin’s natural barrier.
- Oatmeal: Soothes inflammation while absorbing excess oil and gently polishing the skin’s surface.
- Turmeric: This powerful anti-inflammatory ingredient brightens skin tone and reduces redness.
What to Avoid
- Lemon juice or other citrus fruits can create photosensitivity and irritation
- Cinnamon may cause burning sensations for many skin types
- Alcohols that can strip the skin of natural oils
- Strong fragrances or essential oils without proper dilution
- Ingredients past their prime or showing signs of spoilage
Substitutions
- Rosewater instead of aloe vera if you prefer a floral scent
- Greek yogurt can replace regular yogurt for a thicker consistency
- Coconut oil can substitute olive oil for dry skin types
- Matcha powder can replace turmeric if you’re concerned about yellow staining
Ingredients & Prep
Prep Essentials
Before applying any face mask, proper preparation ensures optimal results:
- Cleanse your face with a gentle, pH-balanced cleanser
- Steam your face for 2-3 minutes to open pores (optional but beneficial)
- Perform a patch test 24 hours before applying a new mask recipe
- Gather all ingredients and tools before beginning
DIY Mask Ingredients
Mask #1: Honey Avocado Glow Mask
- 1/2 ripe avocado
- 1 tablespoon raw honey
- 1 teaspoon olive oil
Mask #2: Oatmeal Yogurt Soother
- 2 tablespoons plain yogurt
- 2 tablespoons ground oatmeal
- 1 teaspoon honey
Mask #3: Turmeric Brightening Mask
- 1 tablespoon yogurt
- 1/4 teaspoon turmeric powder
- 1/2 teaspoon honey
Mask #4: Banana Moisture Boost
- 1/2 ripe banana (mashed)
- 1 teaspoon honey
- 3 drops vitamin E oil
Mask #5: Green Tea Antioxidant Treatment
- 1 tablespoon matcha powder
- 1 tablespoon honey
- Few drops of water to form a paste
Pantry Staples for Radiant Skin
Keep these versatile ingredients on hand for countless skincare combinations:
- Olive oil or jojoba oil
- Rolled oats (can be ground in a blender)
- Plain yogurt (preferably unsweetened)
- Raw honey
- Turmeric powder
- Ripe avocados and bananas
- Green tea or matcha powder
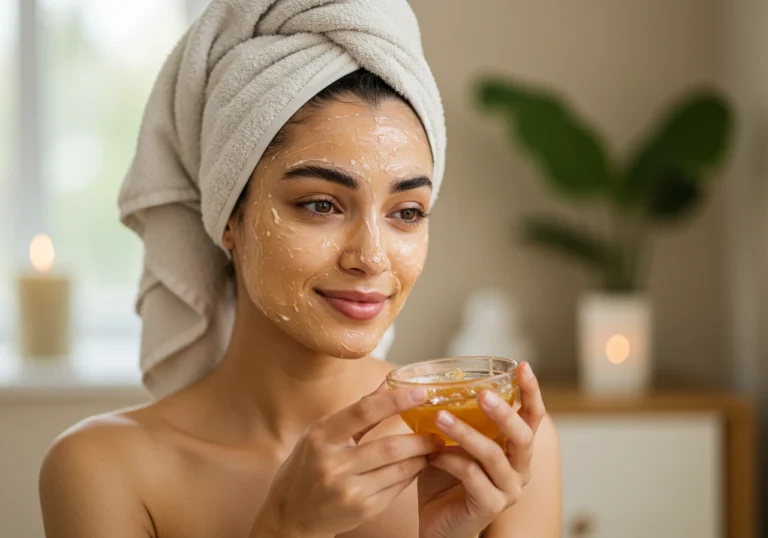
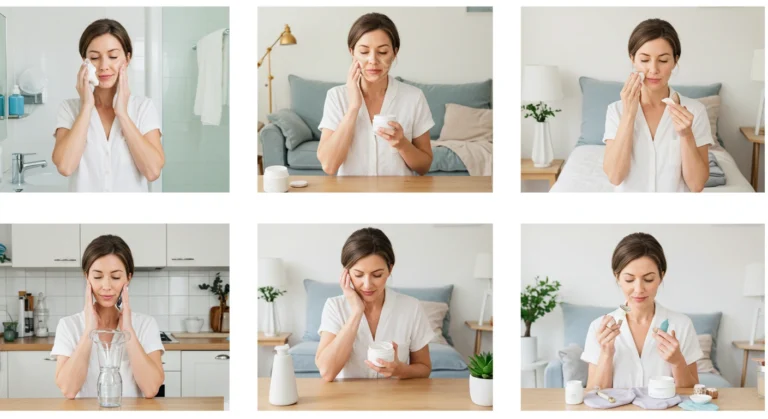
Step-by-Step Application Instructions
Before You Begin
- Pull hair away from your face using a headband or hair clip
- Cleanse your face thoroughly with a gentle cleanser
- If possible, steam your face for 2-3 minutes to open pores and increase absorption
- Pat your skin dry with a clean towel
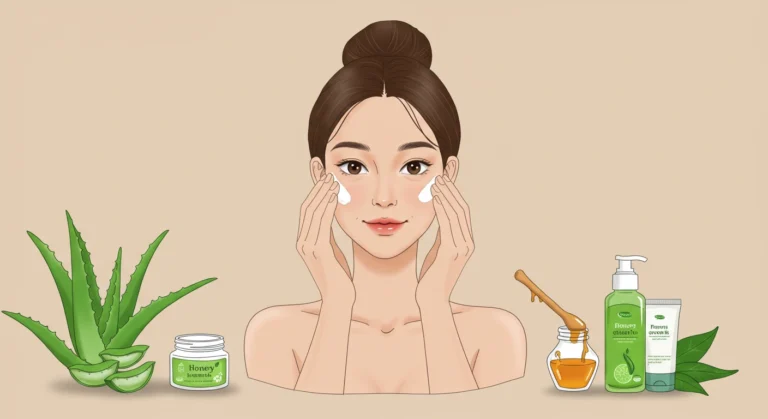
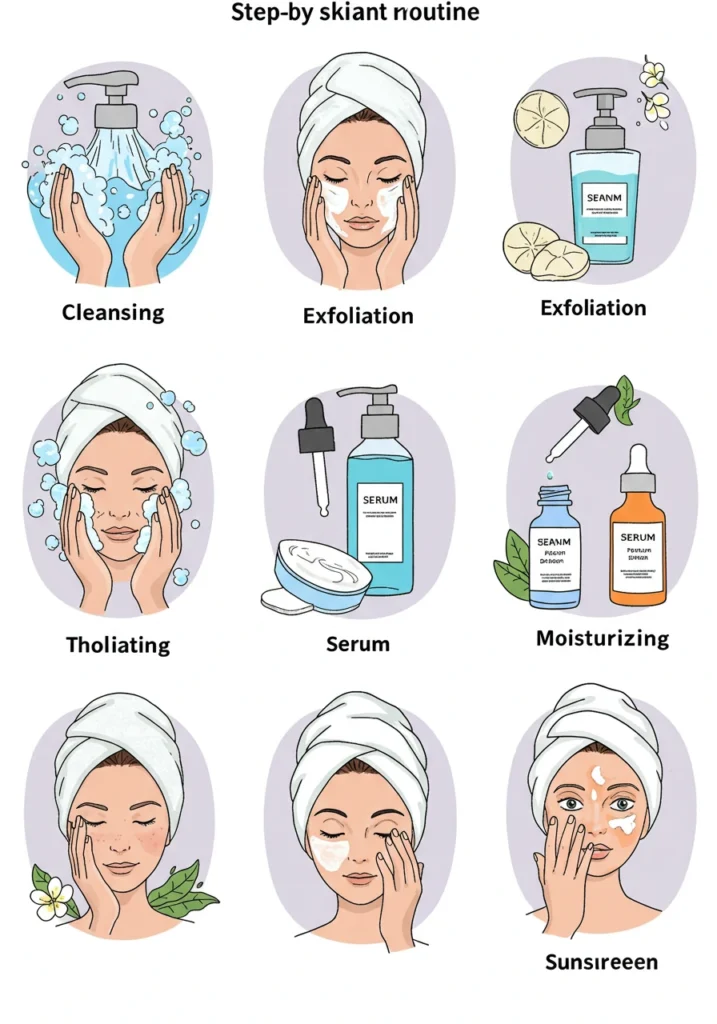
How to Apply
- Mix your chosen mask ingredients in a small, clean bowl until thoroughly combined
- Apply an even layer to your face using clean fingers or a facial mask brush
- Avoid the immediate eye area, nostrils, and lips
- Leave the mask on for 10-15 minutes (see specific recipes for timing variations)
- Relax in a comfortable position while the mask works its magic
Rinse & Aftercare
- Rinse thoroughly with lukewarm (never hot) water
- Pat skin dry with a clean towel – avoid rubbing
- Apply alcohol-free toner to rebalance skin’s pH (optional)
- Follow with your favorite moisturizer to lock in hydration
- Apply SPF if heading outdoors (essential after using brightening masks)
Pro Tips for Radiant Results
Avoiding Irritation
- Always perform a patch test on your inner wrist or behind your ear 24 hours before applying
- Don’t leave masks on longer than recommended, especially those containing active ingredients
- If you experience tingling that progresses to burning, remove the mask immediately
- Start with once-weekly applications before increasing frequency
- Discontinue use if redness, irritation, or breakouts occur
Recommended Tools
- Silicone facial mask brush for mess-free, even application
- Soft microfiber face cloths for gentle removal
- Small glass bowls for mixing (avoid plastic that can harbor bacteria)
- Measuring spoons for precise ingredient proportions
- Magnifying mirror to ensure complete removal
Storage & Reuse
- These masks work best when freshly prepared
- If necessary, refrigerate excess in an airtight container for up to 48 hours
- Bring refrigerated masks to room temperature before applying
- Discard any stored mask that changes color, texture, or smell
- Clean all tools thoroughly after each use to prevent contamination
Custom Variations
For Dryness
- Add a teaspoon of almond oil or avocado oil to any mask
- Increase honey proportion for extra hydration
- Add 1/2 teaspoon of mashed papaya for gentle enzyme action
- Follow with a richer moisturizer after rinsing
For Excess Oil
- Use yogurt as your base ingredient to help balance sebum production
- Add a teaspoon of bentonite or kaolin clay to absorb excess oil
- Incorporate a drop of tea tree oil (diluted) for antibacterial properties
- Follow with a lightweight, non-comedogenic moisturizer
For Sensitivity
- Skip citrus and spice ingredients completely
- Opt for calming ingredients like oatmeal and honey
- Use rosewater instead of plain water when mixing
- Reduce application time by 5 minutes
- Test on a small area first, even if you’ve used similar ingredients before
Best Times to Use These Remedies
Routine Placement
These masks work best when incorporated into your evening skincare routine. Apply after cleansing but before serums and moisturizers. The evening application allows your skin to fully absorb the nourishing benefits without exposure to environmental stressors.
Suggested Frequency
- Normal to dry skin: 1-2 times per week
- Oily or combination skin: 2-3 times per week
- Sensitive skin: Once weekly
- Mature skin: 2 times per week
Consistency is key for visible results. Establish a regular schedule rather than sporadic intensive treatments.
Pre-Event Boost
For special occasions when you want your skin looking its absolute best:
- Apply your chosen mask 24 hours before the event (not the day of)
- Follow with your regular skincare routine, emphasizing hydration
- Get adequate sleep the night before
- Stay well-hydrated for internal radiance that shows externally
FAQs
Is this remedy suitable for sensitive skin?
Most of these recipes can be adapted for sensitive skin. Start with the Oatmeal Yogurt Soother, which is specifically formulated to calm and soothe. Always perform a patch test first, and consider reducing the application time for your first few uses.
How often can I apply these masks?
For most skin types, 1-2 times per week is ideal. Oilier skin types may benefit from up to 3 applications weekly, while sensitive skin should start with just once per week. Pay attention to how your skin responds and adjust accordingly.
Can I combine these with other skincare products?
Yes, these masks integrate well into most skincare routines. Apply after cleansing and before serums or moisturizers. However, avoid using exfoliating acids (like AHAs/BHAs) or retinol products on the same day as your mask treatment to prevent over-stimulating the skin.
Will these masks help with acne?
The Turmeric Brightening Mask and Oatmeal Yogurt Soother can help manage mild acne due to their anti-inflammatory properties. However, these are not treatments for moderate to severe acne, which may require medical intervention.
How soon will I see results?
You may notice immediate improvements in hydration and glow after the first application. For more significant improvements in texture and firmness, consistent use over 3-4 weeks typically yields visible results.
Can I use these masks while pregnant?
Most ingredients in these masks are food-grade and generally safe during pregnancy. However, always consult with your healthcare provider, particularly regarding the use of essential oils or active botanicals.
Conclusion
Your journey to radiant skin doesn’t require expensive products or complicated procedures. These five gentle yet powerful homemade face masks offer a natural approach to revealing your skin’s inherent luminosity and health.
By incorporating these treatments into your regular routine, you’ll not only enjoy the immediate glow they provide but also support your skin’s long-term resilience and vitality. Thousands of my readers have made these recipes their go-to remedies for softer, brighter skin that radiates health from within.
Ready for more natural skincare solutions? Explore our Gentle Brightening Serum next, or learn about Overnight Treatments for Skin Renewal to complement your mask routine!
Remember, consistency is the true secret to radiant skin. Treat these masks as a regular act of self-care rather than occasional emergency treatments, and watch your natural glow emerge.