Table of Contents
Tired of waking up to a dull, lackluster complexion that makes you look perpetually exhausted? You’re not alone. Dull skin is one of the most common concerns I hear from readers, and it can be particularly frustrating when you don’t have hours to devote to an elaborate skincare routine.
The good news? You don’t need a 12-step regimen or expensive treatments to revive your glow. This quick skincare routine effectively tackles dullness in just three simple steps, using ingredients that work synergistically to brighten, hydrate, and rejuvenate tired skin.
After spending over a decade testing countless products and methods (and dealing with my own stubborn dull skin phases), I’ve perfected this time-efficient approach that delivers noticeable results even for the busiest individuals. What started as my personal rescue remedy has now helped thousands of my readers transform their complexions from drab to radiant.
In this guide, you’ll discover the perfect three-step routine, the science behind why it works, essential ingredients that target dullness, and expert tips to maximize your results with minimal time investment.
Why This Quick Skincare Routine Works
When it comes to combating dullness, efficiency trumps complexity. This streamlined approach focuses on quality over quantity, delivering maximum results with minimal effort:
- Targets the three primary causes of dullness: dead skin cell buildup, dehydration, and environmental damage
- Works with your skin‘s natural renewal process instead of against it
- Creates an immediate brightness effect while building long-term skin health
- Requires just minutes in your morning or evening routine
- Uses multitasking ingredients that address multiple concerns simultaneously
The 3-Step Quick Routine Breakdown
Step 1: Gentle Exfoliation
The foundation of any effective anti-dullness routine is proper exfoliation. When dead skin cells accumulate on the surface, they create a barrier that:
- Prevents light reflection (creating that dull appearance)
- Inhibits product absorption
- Clogs pores and creates uneven texture
How to do it quickly: Use a gentle chemical exfoliant (like a glycolic acid toner or lactic acid serum) on a cotton pad, sweeping across your face in upward motions. Limit to 2-3 times weekly to prevent over-exfoliation.
Time investment: 30 seconds
Step 2: Hydration Boost
Dehydrated skin lacks the moisture necessary for light reflection and healthy cell function. This quick hydration step:
- Plumps skin cells immediately
- Creates a dewy surface for enhanced light reflection
- Strengthens your skin barrier for long-term protection
How to do it quickly: Apply a hyaluronic acid serum to damp skin (important!), then seal with a lightweight moisturizer appropriate for your skin type.
Time investment: 45 seconds
Step 3: Brightening Treatment
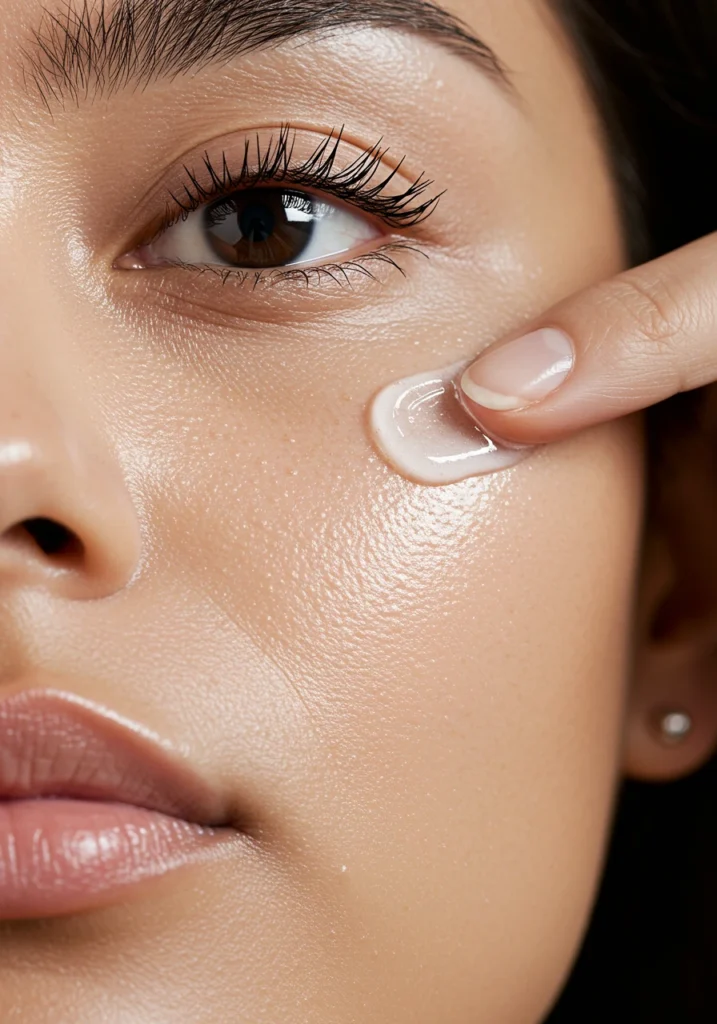
The final step introduces ingredients that actively fight dullness while protecting against future damage:
- Neutralizes free radicals that cause oxidative stress
- Inhibits excess melanin production that creates uneven tone
- Stimulates microcirculation for a healthy flush
How to do it quickly: Apply a vitamin C serum or niacinamide treatment, focusing on areas of particular dullness or uneven tone.
Time investment: 30 seconds
Choosing the Right Ingredients
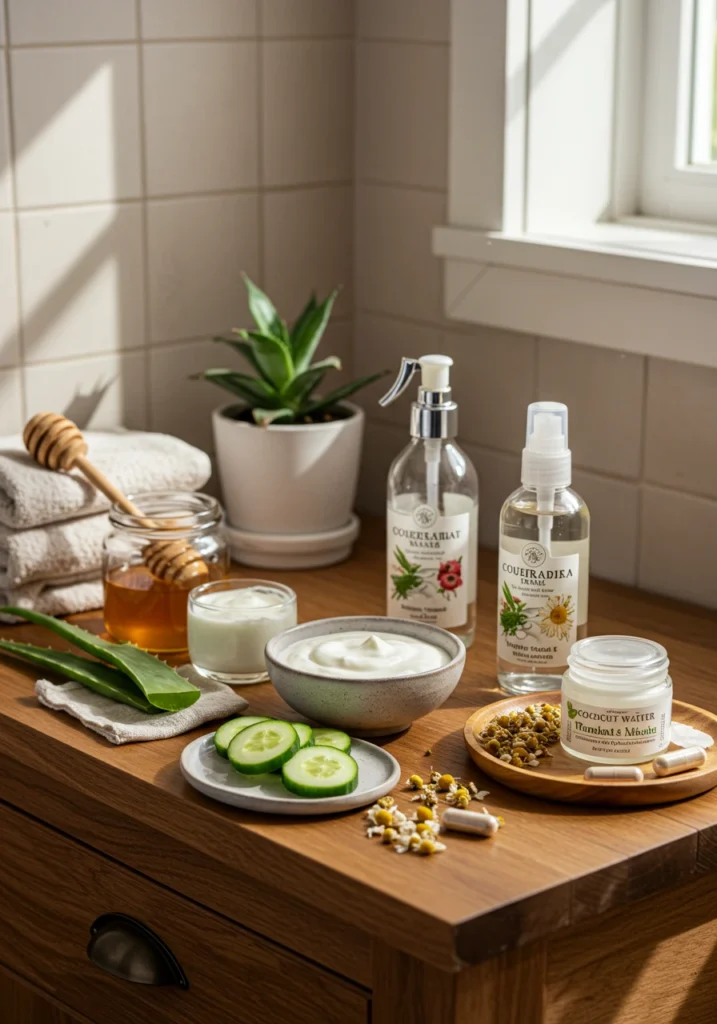
H3: Top Ingredients for Skin Renewal
- Glycolic Acid: This alpha-hydroxy acid dissolves the bonds between dead skin cells, revealing fresher, brighter skin underneath. It’s the gold standard for chemical exfoliation and works quickly.
- Vitamin C: A powerful antioxidant that brightens skin tone, protects against environmental damage, and boosts collagen production. Look for stable forms like L-ascorbic acid or tetrahexyldecyl ascorbate.
- Hyaluronic Acid: This molecule holds up to 1000 times its weight in water, providing instant plumping and hydration that makes skin appear more radiant.
- Niacinamide: A form of vitamin B3 that regulates oil production, minimizes pores, evens skin tone, and strengthens the skin barrier. It’s exceptionally gentle and works well in quick routines.
- Lactic Acid: A milder exfoliant that both removes dead skin cells and hydrates simultaneously, making it perfect for sensitive skin types.
H3: What to Avoid
- Harsh Physical Scrubs: These can create micro-tears in the skin and actually worsen dullness over time.
- Alcohol-Heavy Formulas: While they might feel refreshing initially, they strip skin of essential moisture, creating more dullness.
- Fragrance-Heavy Products: In a quick routine, you want ingredients that work efficiently without potential irritation.
- Overly Complicated Systems: Multiple products with competing ingredients can cancel each other out or overwhelm skin.
H3: Substitutions for Different Needs
- Mandelic Acid instead of Glycolic: For sensitive skin types who need gentler exfoliation.
- Azelaic Acid instead of Vitamin C: For those with rosacea or extreme sensitivity who still want brightening benefits.
- Peptides instead of Retinol: For a gentler approach to cell renewal that works well in quick routines.
- Centella Asiatica instead of Niacinamide: For very sensitive skin that needs soothing alongside brightening.
Ingredients & Prep
H3: Prep Essentials
Before beginning your quick routine, proper preparation ensures maximum effectiveness:
- Clean Hands: Always start with thoroughly washed hands to prevent transferring bacteria.
- Gentle Cleanse: Use a sulfate-free cleanser that removes impurities without stripping natural oils.
- Facial Assessment: Take 10 seconds to identify specific areas of dullness or dehydration that need extra attention.
- Patch Test: When introducing new products, always test on a small area first, especially with active ingredients.
H3: Essential Product Ingredients
For each step, look for these key ingredients on product labels:
Step 1 (Exfoliation):
- AHAs (glycolic, lactic, mandelic acid) at 5-10% concentration
- PHAs (gluconolactone, lactobionic acid) for sensitive skin
- Fruit enzymes (papain, bromelain) for very sensitive skin
Step 2 (Hydration):
- Hyaluronic acid (preferably multi-molecular weight)
- Glycerin
- Panthenol (vitamin B5)
- Ceramides
Step 3 (Brightening):
- Vitamin C (L-ascorbic acid, sodium ascorbyl phosphate, or tetrahexyldecyl ascorbate)
- Niacinamide (2-5%)
- Alpha-arbutin
- Licorice root extract
- Tranexamic acid
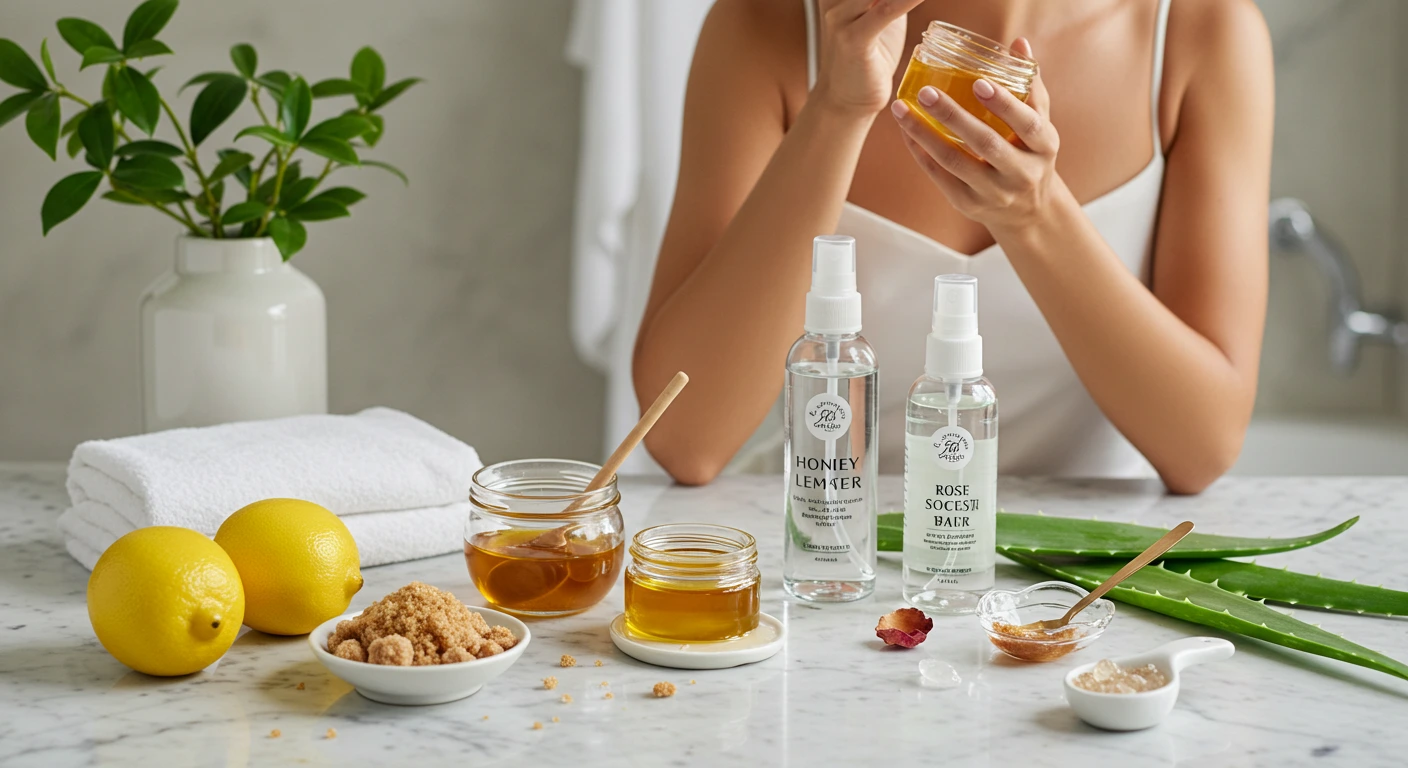
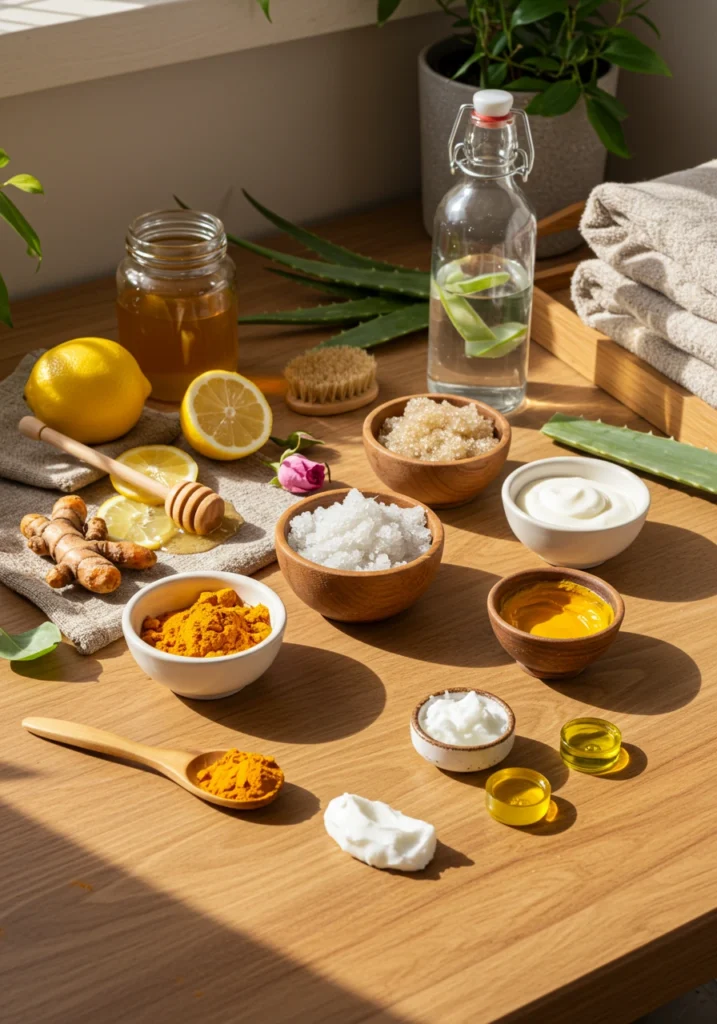
H3: Quick DIY Brightening Option
For days when you need an extra boost, this 3-ingredient DIY treatment can be prepared in seconds:
- 1 teaspoon plain Greek yogurt (lactic acid + probiotics)
- ½ teaspoon honey (humectant + antibacterial)
- Small pinch of turmeric (brightening + anti-inflammatory)
Mix quickly and apply as a 5-minute mask before your regular routine.
Step-by-Step Application Instructions
1. Before You Begin
- Start with clean, slightly damp skin (the perfect canvas for product absorption).
- If time allows, splash your face with lukewarm water 5-10 times to boost circulation.
- Pat (don’t rub) skin until just slightly damp.
- Take three deep breaths – this relaxes facial muscles and enhances blood flow.
2. Application Method
Step 1: Exfoliate (30 seconds)
- Apply your chosen exfoliant with gentle, upward sweeping motions.
- Focus on areas of particular dullness or texture concerns.
- Allow to absorb for 10-15 seconds before proceeding.
- Avoid the immediate eye area.
Step 2: Hydrate (45 seconds)
- While skin is still slightly damp from the exfoliant, apply 2-3 drops of hyaluronic acid serum.
- Press gently into skin rather than rubbing.
- Follow immediately with a light layer of moisturizer.
- Pay special attention to any dehydrated areas (usually cheeks and forehead).
Step 3: Brighten (30 seconds)
- Apply a pea-sized amount of your brightening treatment.
- Gently tap (don’t rub) into skin with fingertips.
- Focus on areas of uneven tone or particular dullness.
- Allow to absorb for 10-15 seconds before proceeding with SPF in daytime.
3. Finishing Touches
- For morning routine: Always finish with SPF 30+ (non-negotiable for maintaining brightness).
- For evening routine: Consider adding 2-3 drops of a lightweight facial oil if skin feels particularly dehydrated.
- Gently press (don’t rub) any final product into skin.
- For an extra boost, use 30 seconds to perform a quick facial massage focusing on upward movements.
Pro Tips for Radiant Results
H3: Maximizing Efficiency
- Layer strategically: Apply products from thinnest to thickest consistency for optimal absorption.
- Multi-task: Apply your hydration serum while skin is damp from the shower to save time.
- Product cocktailing: Mix your hydrator and brightening treatment together on busy mornings.
- Keep key products visible: Store your 3-step essentials front and center to avoid wasting time searching.
- Set a timer: Commit to just 2 minutes initially – you’ll be surprised how quickly you can complete the routine.
H3: Boosting Effectiveness
- Use facial tools strategically: Even 30 seconds with a gua sha or facial roller can enhance product penetration and boost circulation.
- Temperature matters: Slightly cool products (stored in a skincare fridge) reduce puffiness and boost circulation.
- The power of touch: Use your ring fingers for application around the eyes as they naturally apply less pressure.
- Breathing technique: Inhale deeply while applying products in upward motions, exhale while pressing into skin.
H3: Maintenance Between Routines
- Facial mist: Keep a hydrating facial mist with brightening ingredients at your desk for mid-day refreshment.
- Strategic timing: Perform your routine immediately after showering when pores are more receptive.
- Overnight treatment: Apply a slightly richer brightening treatment before bed twice weekly for intensive results.
- Inside-out approach: Stay hydrated and consume antioxidant-rich foods to support your topical routine.
Custom Variations
H3: For Dry, Dull Skin
- Add: A drop of face oil mixed into your moisturizer provides deeper nourishment without adding time.
- Substitute: Use an oil-based cleanser instead of a foam or gel to preserve natural lipids.
- Boost: Apply a hydrating sheet mask once weekly while you brush your teeth or reply to emails.
- Focus on: Barrier repair ingredients like ceramides and fatty acids alongside your brightening agents.
H3: For Oily Skin with Dullness
- Add: A salicylic acid-based exfoliant to address both dullness and excess oil production.
- Substitute: A lightweight gel moisturizer instead of a cream.
- Boost: Use a clay-based mask on the T-zone twice weekly (can be applied just to this area to save time).
- Focus on: Oil-control ingredients that don’t dehydrate, like niacinamide and zinc PCA.
H3: For Sensitive Skin Needing Brightness
- Add: Centella asiatica (cica) to calm while brightening.
- Substitute: PHA or enzyme exfoliants instead of AHAs.
- Boost: Use a probiotic-infused moisturizer to strengthen the skin barrier.
- Focus on: Minimal but effective ingredient lists without potential irritants like essential oils.
Best Times to Use This Quick Routine
Morning Efficiency
The morning is ideal for this quick routine because:
- It awakens dull, tired skin before makeup application
- Vitamin C provides antioxidant protection throughout the day
- Hydration creates a perfect canvas for makeup or a fresh no-makeup look
- The brightening effects are immediately visible for the day ahead
Pro tip: Keep your morning products in a visible spot in the bathroom to streamline your process.
Evening Express Version
A slightly modified evening version helps skin recover:
- Focus on thorough (but quick) cleansing to remove daily pollutants
- Consider a milder exfoliant in the evening if skin is sensitive
- Add 2-3 drops of a repair-focused facial oil to the hydration step
- Use a slightly richer brightening treatment that can work overnight
Pro tip: Prepare your evening product lineup in the morning so everything is ready when you’re tired.
Pre-Event Boost
Before special occasions when you want an extra glow:
- Perform your 3-step routine as usual
- Add a 5-minute illuminating mask while you select your outfit
- Use facial massage techniques with your moisturizer to boost circulation
- Apply a highlighting facial oil on high points of face as the final step
Pro tip: Start this enhanced routine 1-2 hours before the event if possible.
FAQs
How quickly will I see results from this routine?
Most people notice an immediate difference in skin luminosity after the first application. More significant improvements in overall tone and texture typically appear within 7-10 days of consistent use. For concerns like stubborn hyperpigmentation, expect gradual improvement over 4-6 weeks.
Is this quick routine suitable for all skin types?
Yes, with appropriate customization. The 3-step framework works for all skin types, but ingredient selection should be tailored to your specific needs. Sensitive skin types should start with gentler exfoliants and brightening agents, while oily skin benefits from lighter hydrators.
Can I use this routine if I have active acne?
Yes, but with modifications. Focus on non-comedogenic products, consider substituting salicylic acid as your exfoliant, and ensure your brightening step includes soothing ingredients like niacinamide or centella asiatica. Avoid physical exfoliation on active breakouts.
How does this routine fit with my existing products?
This streamlined approach can either replace a more complicated routine or serve as your core regimen, with additional targeted treatments as needed. If you have beloved products, evaluate where they fit within the 3-step framework and adjust accordingly.
Can I combine this with professional treatments?
Absolutely! This routine complements professional treatments like facials, chemical peels, or microdermabrasion. Just ensure you adjust the exfoliation step after professional treatments – typically skipping it for 2-3 days post-procedure.
What’s the minimum effective version if I’m extremely short on time?
If you have just 60 seconds, focus on gentle cleansing followed by a combination product containing both hydrating and brightening ingredients (like a moisturizer with niacinamide or vitamin C). Never skip sun protection during daytime.
Conclusion
Combating dull skin doesn’t require hours in front of the mirror or a bathroom cabinet overflowing with products. This quick skincare routine proves that with strategic ingredient selection and efficient application, you can transform your complexion in minutes per day.
The beauty of this approach lies in its simplicity – just three focused steps that target the primary causes of dullness while fitting seamlessly into your busy life. By consistently implementing this routine, you’re not just addressing surface concerns but building a foundation for long-term skin health and radiance.
Thousands of readers have experienced how this quick routine has revolutionized their relationship with skincare, making it something they can actually maintain rather than another abandoned resolution. The most common feedback? “I can’t believe something this simple actually works!”
Ready to take your quick routine to the next level? Explore our [5-Minute Anti-Aging Morning Routine] for complementary techniques, or check out our [Brightening Ingredients Guide] to further customize your approach.
Your radiant complexion is just three steps away – start today!

