Table of Contents
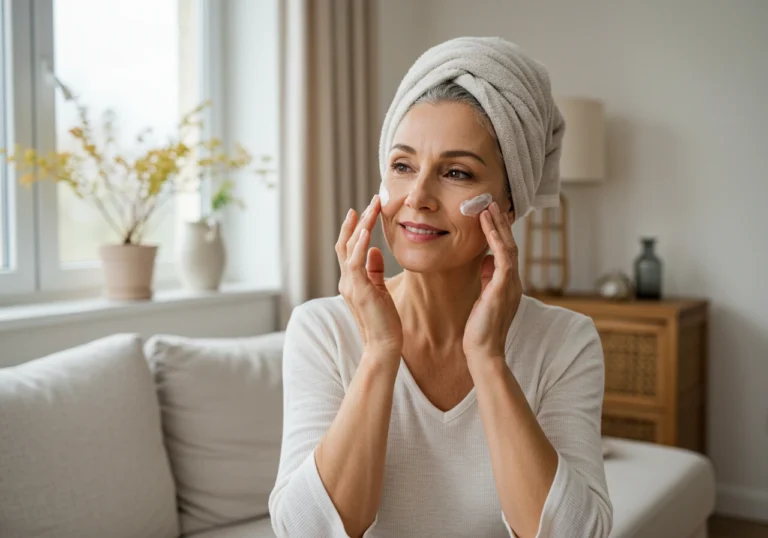
Tired of dull, uneven skin that feels less firm with each passing day? You’re not alone. As we age, our skin naturally loses elasticity and that youthful glow we once took for granted. But before you spend hundreds on luxury products, consider this: the most effective skincare remedies might already be sitting in your kitchen pantry.
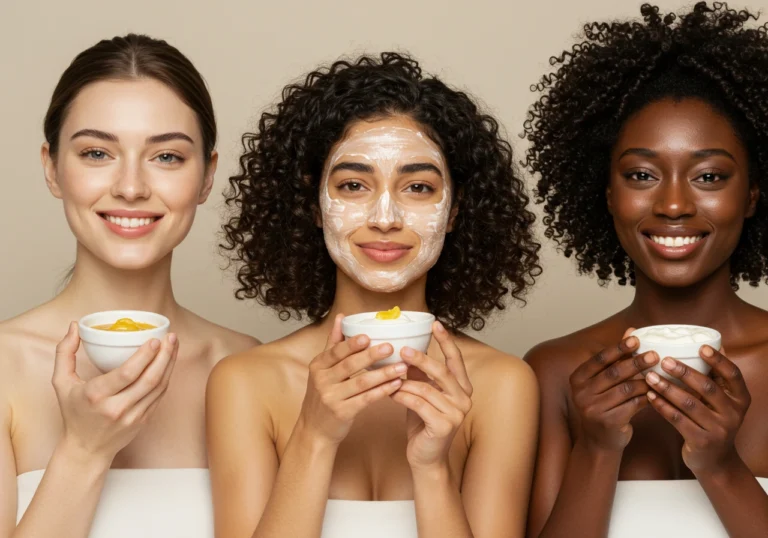
After years of experimenting with homemade remedies and researching natural ingredients, I’ve discovered perfect blends that truly revitalize aging skin. These five natural recipes have transformed not only my complexion but also those of thousands of readers who’ve written to share their success stories.
In this comprehensive guide, you’ll discover potent yet gentle homemade recipes specifically formulated to restore elasticity, enhance your natural glow, and reduce the appearance of fine lines. I’ll walk you through selecting the right ingredients, provide step-by-step application instructions, share expert tips for maximizing results, and answer the most common questions about natural skincare approaches.
Why These Skincare Remedies Work
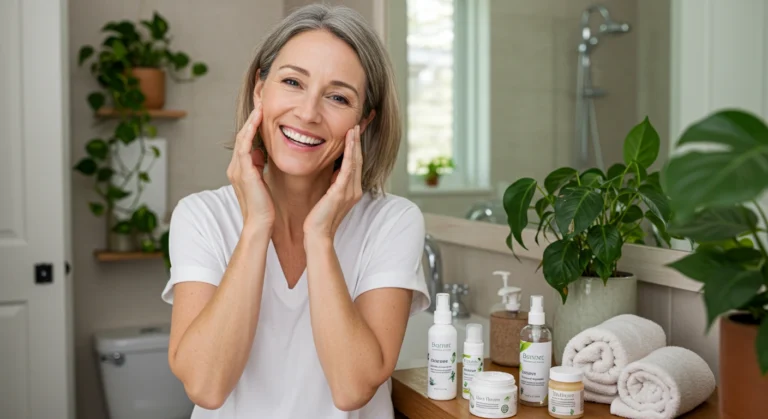
When it comes to nurturing your skin, natural doesn’t mean less effective. In fact, these homemade remedies offer unique benefits that many commercial products can’t match:
- Formulated with gentle, skin-loving ingredients that work with your skin‘s natural renewal processes
- Support optimal hydration levels and enhance your natural radiance
- Free from harsh chemicals, artificial fragrances, and potentially irritating preservatives
- Rich in antioxidants that combat visible signs of aging and environmental damage
- Customizable to address your specific skin concerns and sensitivities
Unlike mass-produced skincare that sits on shelves for months, these fresh preparations deliver active ingredients at their peak potency, allowing your skin to reap maximum benefits.
Choosing the Right Ingredients
Top Ingredients for Skin Renewal
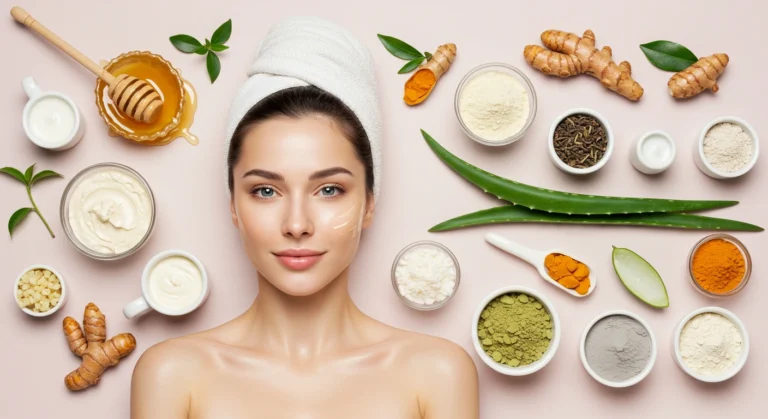
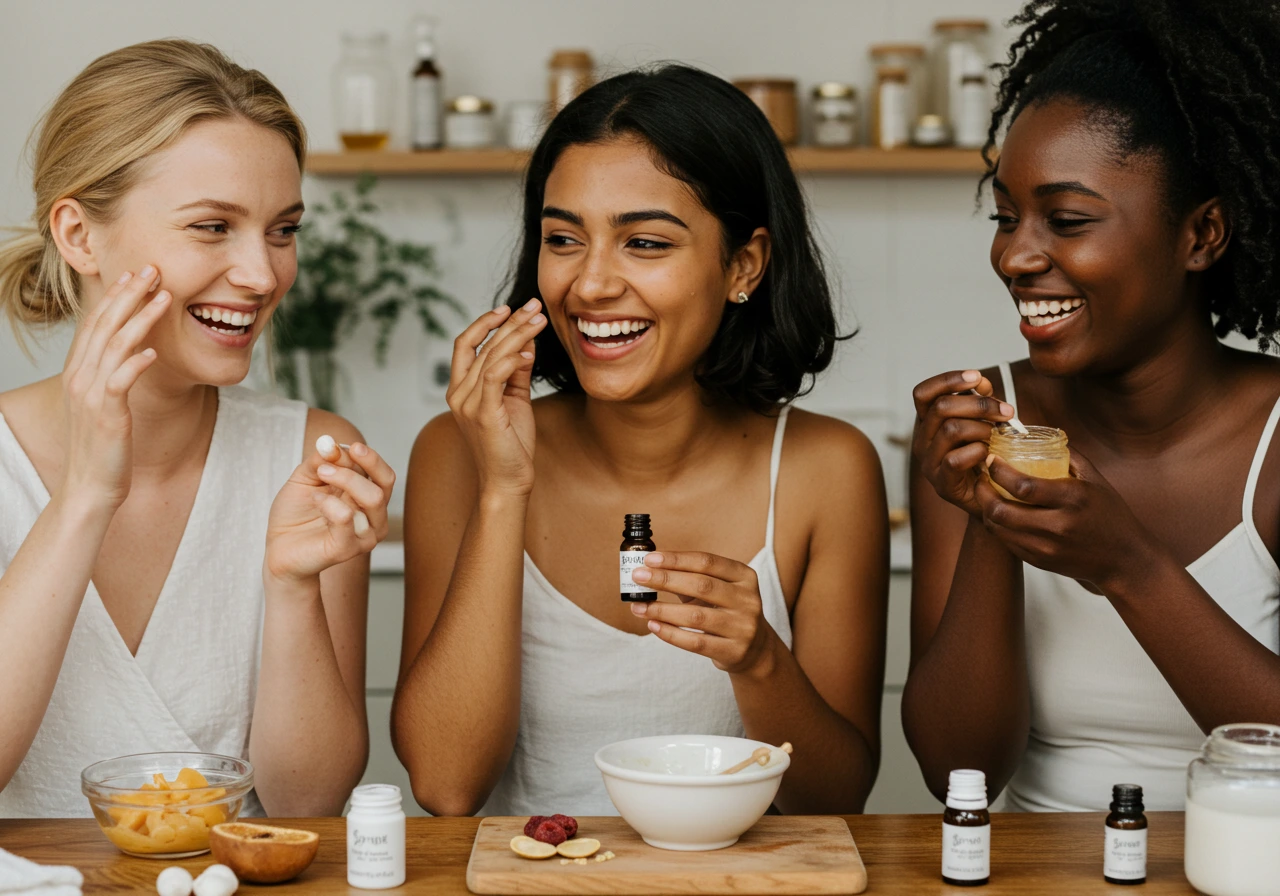
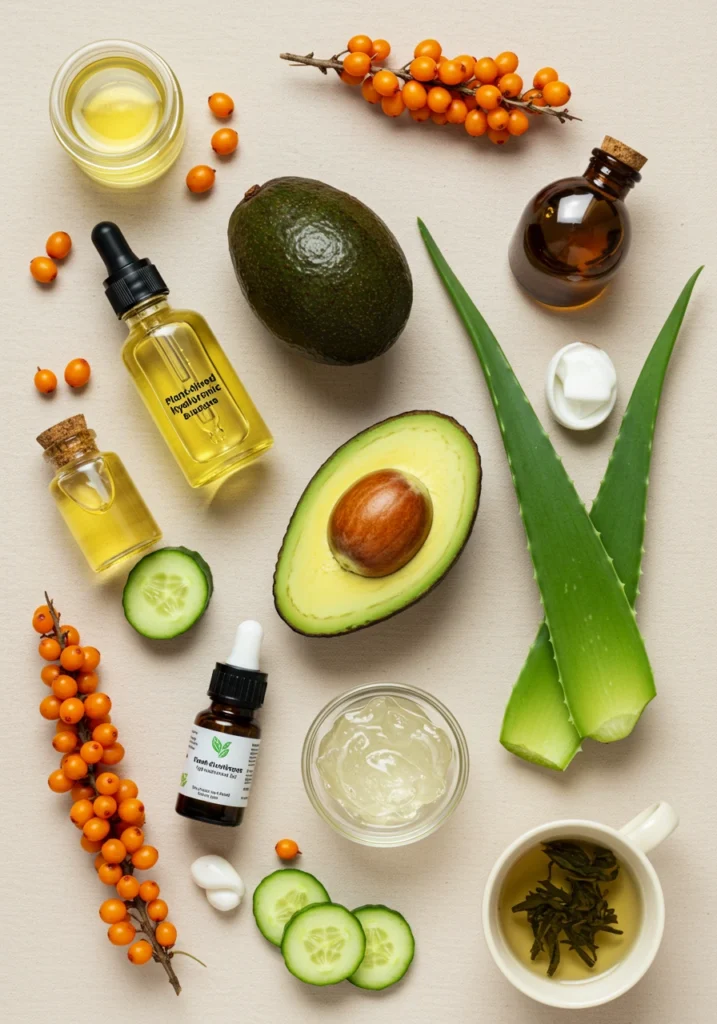
The foundation of effective homemade skincare lies in ingredient selection. These natural powerhouses deliver impressive anti-aging benefits:
- Raw Honey: A natural humectant that attracts moisture, provides gentle exfoliation, and has antimicrobial properties that help clarify and firm skin
- Avocado: Packed with healthy fats and vitamins E and C that deeply nourish, reduce inflammation, and support collagen production
- Greek Yogurt: Contains lactic acid for gentle exfoliation and probiotics that help balance your skin’s microbiome
- Oatmeal: Soothes irritation while its saponins gently cleanse and its beta-glucans create a protective moisture barrier
- Turmeric: Contains curcumin, a powerful anti-inflammatory and antioxidant that brightens skin and reduces fine lines
What to Avoid
Even natural ingredients can cause irritation if they aren’t right for your skin type. Generally, steer clear of:
- Undiluted essential oils, which can sensitize skin over time
- Lemon juice and other citrus fruits, which can cause photosensitivity
- Cinnamon and mint, which may irritate delicate facial skin
- Strong alcohol-based ingredients that can strip natural oils
- Artificial fragrances or dyes, which offer no skincare benefits and may cause reactions
Substitutions
If certain ingredients don’t work for your skin or aren’t readily available, try these effective alternatives:
- Rosewater instead of aloe vera for sensitive skin
- Coconut yogurt instead of dairy yogurt for vegans
- Olive oil or jojoba oil instead of avocado for those with avocado allergies
- Powdered oats instead of whole oats for a smoother texture
- Licorice root extract instead of turmeric if you’re concerned about yellow staining
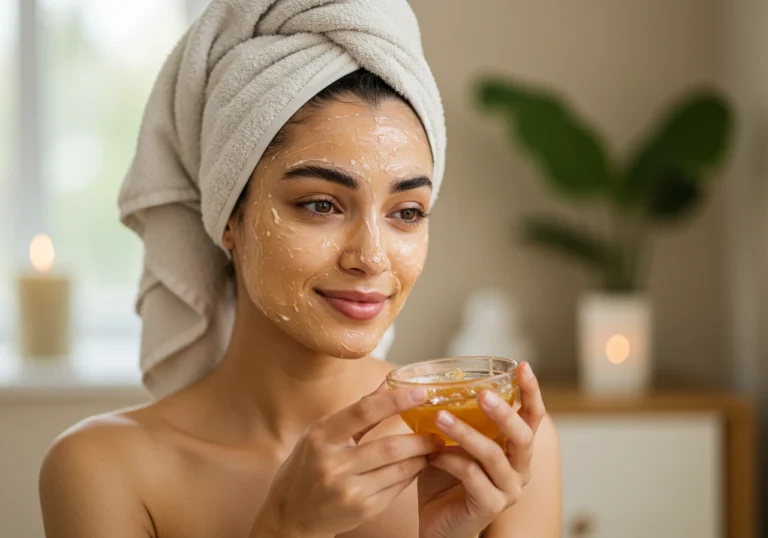
Remedy #1: Honey & Oat Firming Mask
Ingredients & Prep
Prep Essentials:
- Begin with freshly cleansed skin
- Steam your face for 2-3 minutes to open pores (hold face over a bowl of hot water with a towel over your head)
- Always perform a patch test on your inner wrist before applying new ingredients to your face
DIY Mask Ingredients:
- 2 tablespoons organic rolled oats, finely ground
- 1 tablespoon raw honey (manuka honey preferred for extra benefits)
- 1 teaspoon plain Greek yogurt
- 5 drops rosehip seed oil
Pantry Staples You Can Add:
- ¼ teaspoon turmeric powder for brightening
- 1 teaspoon olive oil for extra hydration
- 1 teaspoon mashed banana for additional vitamins
Step-by-Step Application Instructions
- Before You Begin: Cleanse your face with a gentle cleanser and pat dry. If possible, open pores with a warm washcloth or brief steam.
- How to Apply: Combine all ingredients in a small bowl, mixing thoroughly until you achieve a smooth paste. Using clean fingertips or a facial mask brush, apply an even layer to your face, avoiding the eye area. Leave on for 15-20 minutes.
- Rinse & Aftercare: Gently rinse with lukewarm water using circular motions to benefit from the oats’ mild exfoliation. Pat face dry with a clean towel and follow with your favorite moisturizer or facial oil.
Pro Tips for Radiant Results
Avoiding Irritation:
- Always perform a patch test before applying new ingredients
- Limit application to once or twice weekly, especially if you have sensitive skin
- If you experience tingling that turns to burning, remove immediately
Recommended Tools:
- Silicone facial mask brush for mess-free application
- Soft microfiber face cloths for gentle removal
- Small glass bowl for mixing (avoid plastic which can harbor bacteria)
Storage & Reuse:
- This mask is best used fresh, but you can refrigerate excess in an airtight container for up to 3 days
- Allow refrigerated mask to return to room temperature before applying
Remedy #2: Avocado & Yogurt Renewal Treatment
Ingredients & Prep
DIY Mask Ingredients:
- ½ ripe avocado, mashed
- 1 tablespoon plain Greek yogurt
- 1 teaspoon raw honey
- 3 drops vitamin E oil (from a capsule)
Step-by-Step Application Instructions
- Before You Begin: Ensure face is freshly cleansed and slightly damp for better absorption.
- How to Apply: Mash avocado until completely smooth, then mix in remaining ingredients. Apply generously to face and neck, avoiding eye area. Leave on for 20 minutes.
- Rinse & Aftercare: Rinse thoroughly with lukewarm water. Follow with toner and moisturizer.
Custom Variations
For Dryness:
- Add ½ teaspoon of sweet almond oil to boost hydration
- Increase honey to 2 teaspoons for extra moisture-binding properties
For Excess Oil:
- Use 2 tablespoons yogurt and reduce avocado to ¼
- Add ½ teaspoon of bentonite clay to help balance sebum production
For Sensitivity:
- Skip the vitamin E and substitute with 3 drops of chamomile essential oil
- Use colloidal oatmeal instead of regular oats for enhanced soothing properties
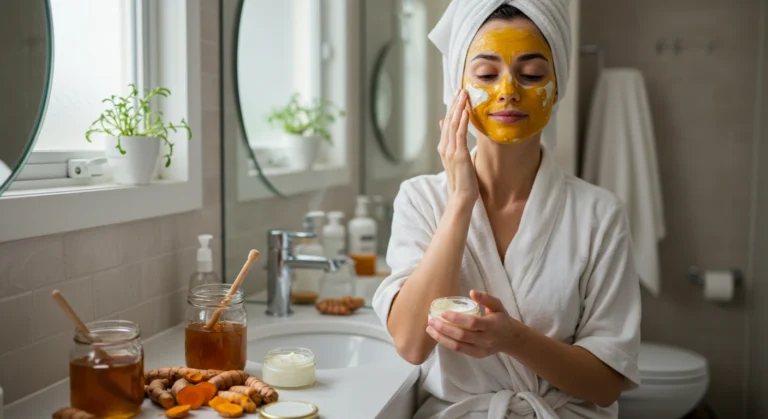
Remedy #3: Turmeric Brightening Elixir
Ingredients & Prep
DIY Mask Ingredients:
- 1 teaspoon turmeric powder
- 2 tablespoons raw honey
- 1 tablespoon plain Greek yogurt
- 1 teaspoon aloe vera gel
Step-by-Step Application Instructions
- Before You Begin: Cleanse face and apply a thin layer of moisturizer around eyes to prevent turmeric staining.
- How to Apply: Mix ingredients to form a smooth paste. Apply evenly to face using a mask brush. Leave on for 10-15 minutes.
- Rinse & Aftercare: Rinse thoroughly with lukewarm water, then follow with a gentle cleanser to remove any yellow residue. Apply moisturizer.
Remedy #4: Rosewater & Cucumber Cooling Gel
Ingredients & Prep
DIY Gel Ingredients:
- ½ cucumber, peeled and blended
- 2 tablespoons pure rosewater
- 1 tablespoon aloe vera gel
- 1 teaspoon vegetable glycerin
Step-by-Step Application Instructions
- Before You Begin: Strain blended cucumber through cheesecloth to extract juice.
- How to Apply: Mix all ingredients in a glass bowl. Apply as a thin layer to clean skin. Can be used as a leave-on gel or 15-minute mask.
- Rinse & Aftercare: If using as a mask, rinse with cool water. If using as a leave-on treatment, allow to absorb fully before applying moisturizer.
Remedy #5: Olive Oil & Brown Sugar Gentle Exfoliant
Ingredients & Prep
DIY Scrub Ingredients:
- 1 tablespoon brown sugar
- 1 tablespoon olive oil
- 1 teaspoon honey
- 2 drops lavender essential oil
Step-by-Step Application Instructions
- Before You Begin: Prepare skin by cleansing and softening with a warm washcloth.
- How to Apply: Mix ingredients. With damp fingers, gently massage mixture onto skin using circular motions for 1-2 minutes.
- Rinse & Aftercare: Rinse thoroughly with warm water. Follow with toner and moisturizer.
Best Times to Use These Remedies
For optimal results, timing matters:
- Routine Placement: These treatments work best as part of your evening skincare routine when skin enters its natural repair cycle
- Suggested Frequency: Use each mask 1-2 times weekly, rotating between them to address different concerns
- Pre-Event Boost: Apply the Honey & Oat mask or Turmeric Brightening Elixir 1-2 days before special occasions for noticeably luminous skin
- Seasonal Adjustments: Increase usage of the Avocado & Yogurt mask during winter months when skin needs extra hydration
For a comprehensive skincare approach, consider this weekly schedule:
- Monday: Olive Oil & Brown Sugar Gentle Exfoliant
- Wednesday: Turmeric Brightening Elixir
- Saturday: Avocado & Yogurt Renewal Treatment or Honey & Oat Firming Mask
FAQs
Are these remedies suitable for sensitive skin? Most are gentle enough for sensitive skin, but always perform a patch test first. If you have extremely sensitive skin, start with the Honey & Oat mask or the Rosewater & Cucumber gel, which contain minimal ingredients and are less likely to cause irritation.
How often can I apply these masks? For best results, limit application to 1-2 times weekly per mask. Overuse of active ingredients can potentially disrupt your skin barrier. Listen to your skin and adjust frequency accordingly.
Can I combine these with other skincare products? Yes, these natural remedies complement most skincare routines. Apply masks after cleansing and before serums/moisturizers. However, avoid using masks on the same day as chemical exfoliants or retinol to prevent potential irritation.
How long will these homemade remedies last? Without preservatives, these preparations should be used immediately or stored in the refrigerator for 3-5 days maximum in airtight containers. If you notice any change in color, texture, or smell, discard immediately.
Will these remedies help with acne? Many ingredients in these recipes have antimicrobial and anti-inflammatory properties that may help with acne. The honey, yogurt, and turmeric are particularly beneficial for blemish-prone skin. However, if you have severe acne, consult a dermatologist.
Can I use these remedies if I’m pregnant? Most ingredients are food-grade and generally safe, but always consult your healthcare provider first. Some essential oils should be avoided during pregnancy.
Conclusion
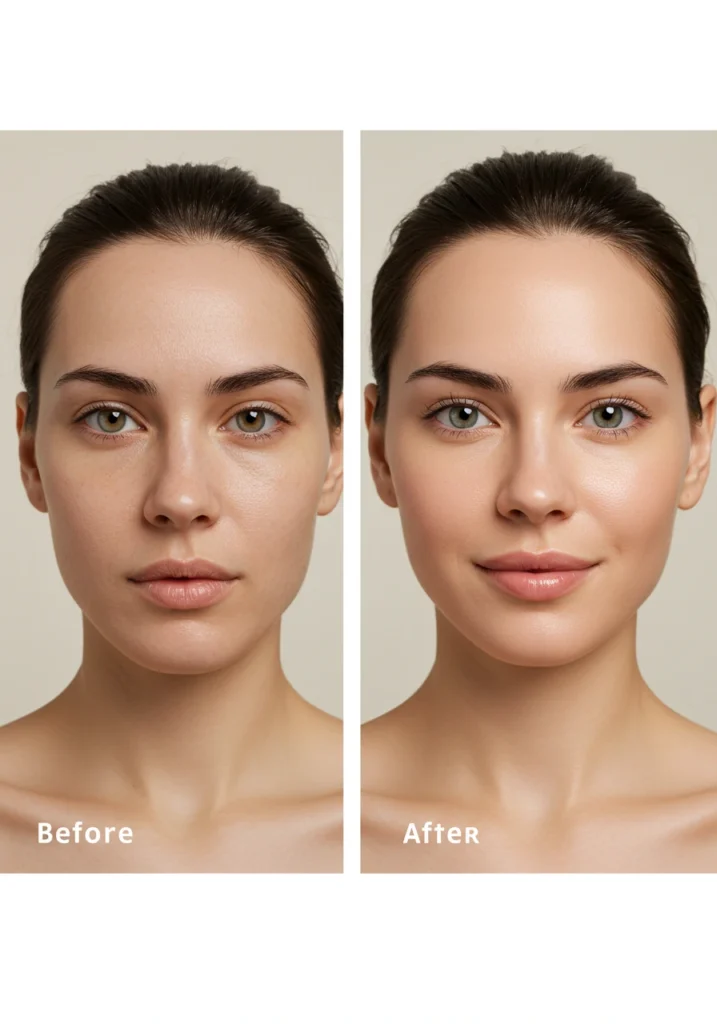
Natural skincare doesn’t have to be complicated to be effective. These five homemade remedies offer powerful skin benefits without harsh chemicals or artificial additives. By incorporating these treatments into your regular skincare routine, you can enjoy visibly brighter, firmer, and more radiant skin.
The beauty of homemade skincare lies in its simplicity and purity—you know exactly what you’re putting on your skin. Thousands of readers have transformed their complexions with these gentle yet effective recipes, experiencing improved texture, enhanced glow, and a reduction in fine lines.
I encourage you to start with one recipe that addresses your primary skin concern and gradually explore the others. Remember that consistency is key to seeing results, and your skin will thank you for choosing natural nourishment over synthetic alternatives.
Ready to continue your natural skincare journey? Explore our [Gentle Brightening Mask] for sensitive skin or learn about the [Top 10 Anti-Aging Foods] that work from the inside out!