Table of Contents
Tired of dull, uneven skin that lacks that coveted radiance? You’re not alone. Many of us struggle with lackluster complexions that seem resistant to even the most expensive products on the market. The good news? Your journey to transformative skin health doesn’t require a medicine cabinet overhaul or a luxury spa budget.
This 7-day glowing skin challenge combines science-backed techniques with natural remedies to revitalize your complexion from within. After years of experimenting with countless skincare routines and interviewing dermatologists, I’ve distilled the most effective practices into one comprehensive week-long program that delivers visible results.
In this guide, you’ll discover daily actions that build upon each other, key ingredients that support cellular renewal, expert application techniques, and solutions customized for different skin concerns. By day seven, you’ll not only see a difference in your mirror but understand the sustainable practices that maintain that coveted glow long-term.
Why This Skincare Remedy Works

The 7-day challenge works because it addresses skin health holistically rather than focusing on quick fixes. Each day builds upon the previous one, creating a comprehensive approach that:
- Formulated with gentle, skin-loving ingredients that work with your skin’s natural processes
- Supports optimal hydration levels and enhances natural luminosity
- Contains no harsh chemicals or artificial additives that can compromise your skin barrier
- Combines topical treatments with lifestyle adjustments for inside-out results
- Creates sustainable habits that continue benefiting your skin long after the challenge ends
Unlike trendy masks or overnight “miracle” products, this methodical approach respects your skin’s natural renewal cycle while providing the nutrients and care it needs to function optimally.
Choosing the Right Ingredients
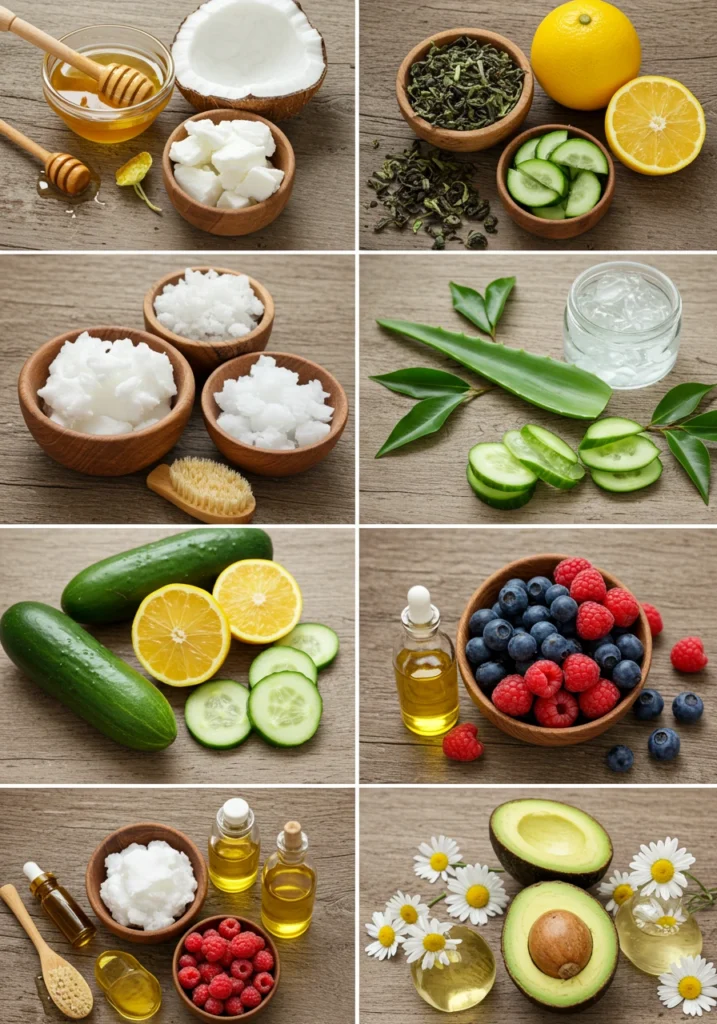
Top Ingredients for Skin Renewal
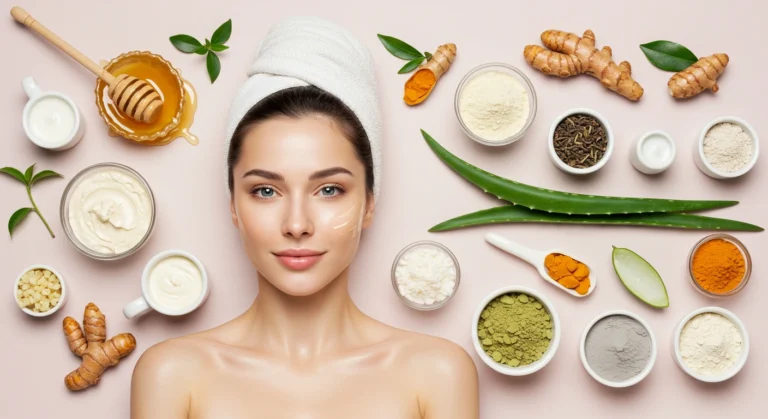
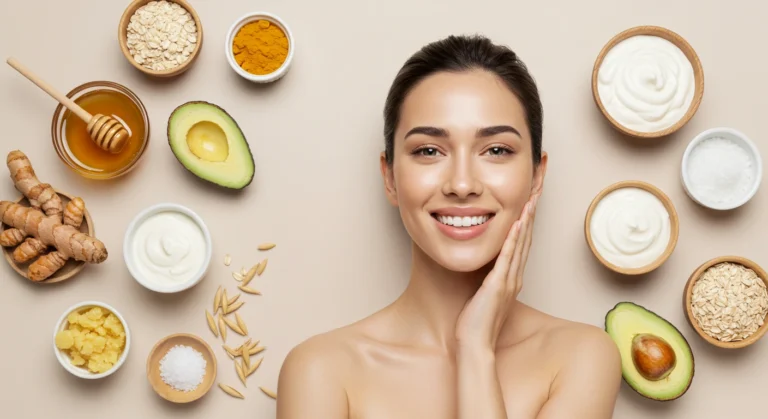
Your skin‘s radiance depends largely on cell turnover, hydration, and protection. These star ingredients support those functions:
Honey: A natural humectant that draws moisture into the skin while its enzymes gently exfoliate for a firmer appearance. Look for raw, unprocessed varieties for maximum benefits.
Avocado: Rich in healthy fats and vitamins E and C, avocado delivers deep nourishment that improves elasticity and creates a dewy finish.
Yogurt: Contains lactic acid, a gentle alpha hydroxy acid that dissolves dead skin cells while probiotics help balance your skin‘s microbiome.
Turmeric: This anti-inflammatory powerhouse brightens skin tone and reduces redness with its active compound curcumin.
Oatmeal: Soothes irritation while its saponins offer gentle cleansing properties that won’t strip natural oils.
What to Avoid
For truly glowing skin, be wary of ingredients that compromise your skin barrier:
- Alcohol-heavy formulations that dehydrate and irritate
- Strong synthetic fragrances that trigger inflammation
- Harsh physical exfoliants that create micro-tears
- Comedogenic oils that clog pores and dull complexion
- Sulfates that strip natural moisture and disrupt pH
Substitutions
Everyone’s skin is unique, so flexibility is key. Consider these alternatives if needed:
- Rosewater instead of aloe vera for sensitive skin types
- Greek yogurt in place of regular yogurt for a thicker consistency
- Mashed banana instead of avocado for a lighter texture
- Chamomile tea rather than green tea for extra soothing properties
- Coconut yogurt for those with dairy sensitivities
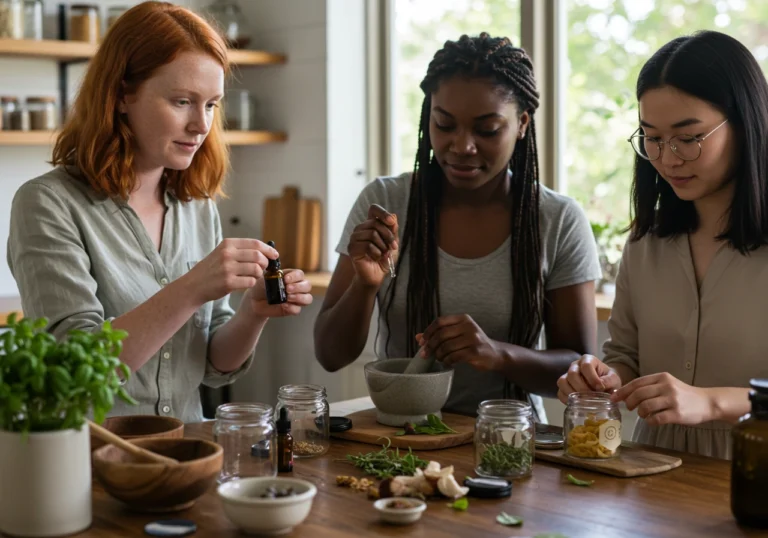
Ingredients & Prep
Prep Essentials
Before diving into the daily masks and treatments, establish this foundation:
- Proper Cleansing: Use a gentle, sulfate-free cleanser with lukewarm water to remove impurities without stripping natural oils.
- Gentle Steam: Hold your face 8-10 inches above a bowl of hot water with a towel draped over your head for 2-3 minutes to open pores (optional but beneficial).
- Patch Test: Always test new ingredients on your inner arm 24 hours before facial application to avoid adverse reactions.
- Clean Tools: Ensure all application tools, bowls, and hands are thoroughly cleaned to prevent introducing bacteria.
DIY Mask Ingredients
Base Daily Glow Mask:
- 1 tablespoon raw honey
- 1/2 ripe avocado, mashed
- 1 tablespoon plain yogurt (Greek or regular)
- 1/4 teaspoon turmeric powder
- 1 tablespoon ground oats
Pantry Staples
Keep these versatile ingredients on hand to customize your daily treatments:
- Extra virgin olive oil (for dry skin days)
- Rolled oats (for gentle exfoliation)
- Plain yogurt (for brightening and balancing)
- Turmeric (for inflammation reduction)
- Raw honey (for hydration and antibacterial properties)
- Lemon juice (for brightening, use sparingly)
- Green tea bags (for antioxidant benefits)
- Aloe vera gel (for soothing properties)
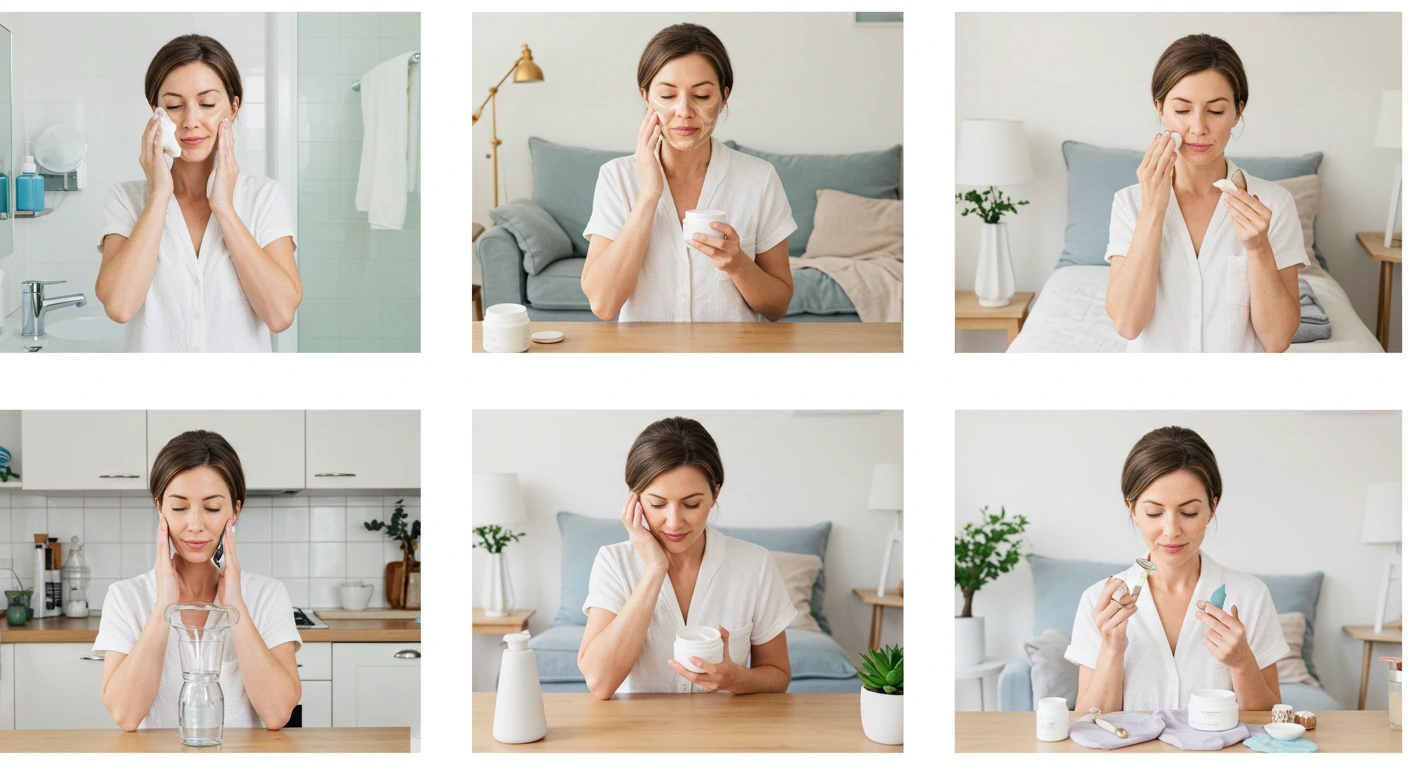
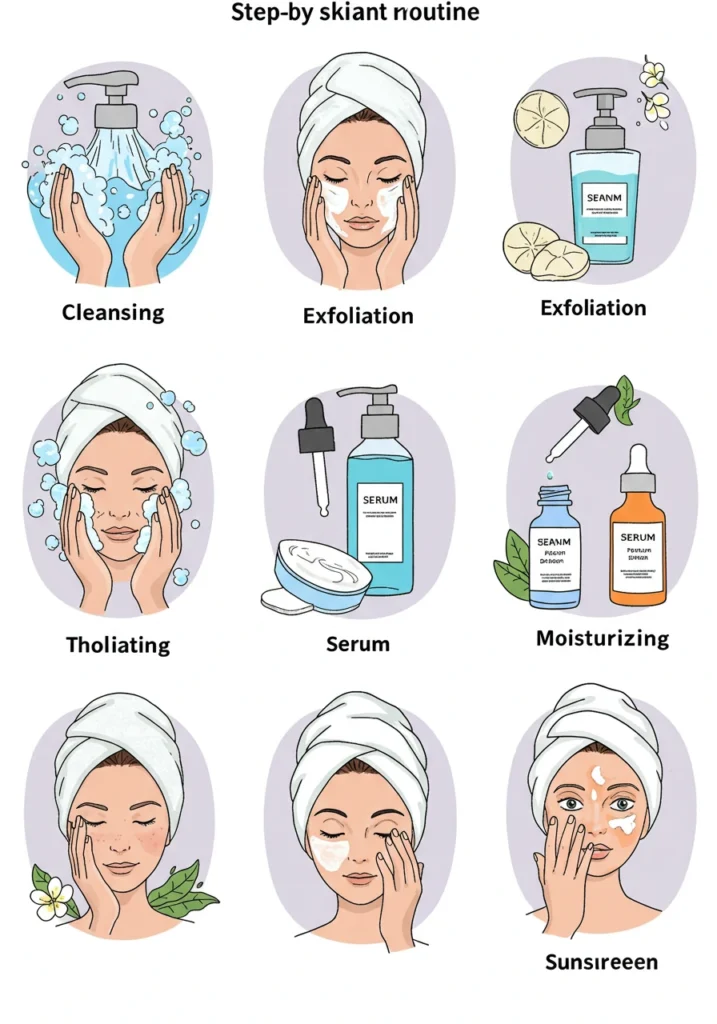
Step-by-Step Application Instructions
Before You Begin
- Cleanse thoroughly: Remove all makeup and wash your face using gentle circular motions.
- Open pores: Apply a warm (not hot) washcloth to your face for 30 seconds, or use the steam method described above.
- Pat dry: Gently blot excess water with a clean towel, leaving skin slightly damp for better absorption.
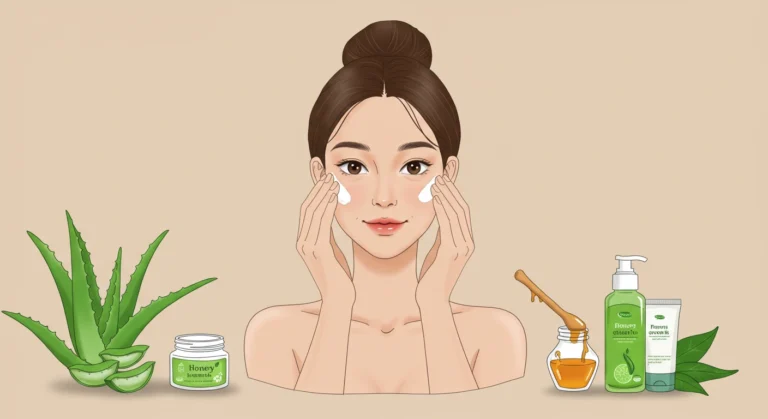
How to Apply
- Mix your chosen mask ingredients in a small non-metallic bowl until smooth and consistent.
- Using clean fingertips or a facial mask brush, apply an even layer to your face, avoiding the immediate eye area and lips.
- Apply in upward, outward motions to encourage circulation and prevent pulling on the skin.
- Leave on for 10-15 minutes (specific timing noted in daily routines), but remove immediately if you experience any discomfort.
- During application time, practice deep breathing or facial massage techniques to enhance blood flow.
Rinse & Aftercare
- Rinse with lukewarm water, using gentle circular motions to benefit from mild exfoliation.
- Avoid rubbing or using washcloths that may irritate freshly treated skin.
- Pat face dry with a clean, soft towel.
- Apply alcohol-free toner to restore pH balance.
- Follow immediately with serum and moisturizer to seal in benefits while skin is still slightly damp.
- Apply sunscreen during daytime routines (minimum SPF 30), even on cloudy days.
Pro Tips for Radiant Results
Avoiding Irritation
- Always conduct a 24-hour patch test before using new ingredients.
- Limit mask applications to 2-3 times weekly unless specified differently.
- Reduce turmeric quantities if you have fair skin to prevent temporary yellowing.
- Listen to your skin—if it feels tight or irritated, reduce treatment frequency.
- Avoid active ingredients like retinol or AHAs on the same day as masks.
Recommended Tools
- Silicone mask brush for hygienic, even application
- Soft microfiber cloths for gentle removal
- Glass or ceramic mixing bowls (avoid metal with certain ingredients)
- Measuring spoons for precise formulations
- Good lighting and magnifying mirror for proper application
- Timer to prevent leaving masks on too long
Storage & Reuse
- Refrigerate unused portions in airtight glass containers for up to 48 hours.
- Label with creation date and ingredients to track effectiveness.
- Bring refrigerated masks to room temperature before application.
- Add a few drops of vitamin E oil to extend shelf life slightly.
- Discard any mixture showing changes in color, texture, or smell.
Custom Variations
For Dryness
Transform your base mask by adding:
- 1/2 teaspoon almond or jojoba oil for deep nourishment
- 1/4 mashed banana for extra hydration
- A drop of rosehip seed oil for barrier repair
- Replace yogurt with 1 tablespoon of full-fat coconut milk
Apply this variation at night to allow oils to absorb fully, and use a hydrating essence the following morning.
For Excess Oil
Modify your base recipe with:
- 1 teaspoon additional yogurt to increase lactic acid content
- 1/2 teaspoon french green clay to absorb excess sebum
- 3 drops of tea tree oil (diluted properly) for antibacterial action
- A splash of witch hazel as a natural astringent
Use this variation primarily in your evening routine, followed by a lightweight, non-comedogenic moisturizer.
For Sensitivity
Gentle adjustments to make your masks more soothing:
- Skip citrus components entirely
- Replace turmeric with 1 teaspoon of finely ground oatmeal
- Add 1 tablespoon of fresh aloe vera gel for cooling relief
- Use calming chamomile-infused water instead of regular water
- Reduce mask time to 5-7 minutes initially
Apply after a cool compress for enhanced soothing effects.
Best Times to Use This Remedy
Routine Placement
The 7-day challenge works best when integrated thoughtfully into your existing skincare:
- Morning treatments focus on protection and radiance
- Evening applications emphasize repair and deep nourishment
- Special masks are best applied after showering when pores are naturally more receptive
- Allow at least 20 minutes between mask removal and makeup application
Suggested Frequency
For optimal glowing skin results:
- Complete the full 7-day sequence initially
- After the challenge, maintain with twice-weekly applications
- Repeat the full challenge quarterly for skin rejuvenation
- Adjust frequency based on seasonal changes and skin needs
Pre-Event Boost
When you need that extra luminosity:
- Apply the Day 5 brightening mask 48 hours before special occasions
- Use gentle facial massage techniques during morning application on event day
- Layer a sheet mask soaked in green tea 4 hours before for immediate plumping
- Finish with facial rolling or gua sha to enhance circulation and reduce puffiness
FAQs
Is this remedy suitable for sensitive skin? Yes, but start with the sensitive skin variation and patch test first. Reduce application time to 5-7 minutes initially and gradually increase as your skin adjusts.
How often can I apply these masks? During the 7-day challenge, follow the daily instructions precisely. Afterward, limit intensive masks to 2-3 times weekly and maintenance treatments to every other day.
Can I combine this with other skincare products? Yes, but simplify your routine during the challenge. Avoid other active ingredients like retinoids, AHAs/BHAs, or vitamin C when using these masks. Basic cleansers, alcohol-free toners, and simple moisturizers complement this program well.
Will I see immediate results? Many users notice improved hydration and softness after the first application. However, true glowing skin develops gradually as your skin’s renewal cycle responds to consistent care. The most dramatic improvements typically appear around days 5-7.
Can I do this challenge if I have acne? Yes, but focus on the oil-balancing variations and avoid heavy oils. If you have cystic or inflammatory acne, consult with a dermatologist before beginning.
How can I maintain results after the 7-day challenge? Incorporate your favorite masks from the challenge into your regular routine 1-2 times weekly, stay hydrated, protect your skin from sun damage, and prioritize sleep for continued radiance.
Conclusion
Your journey to glowing skin doesn’t end after seven days—it’s just beginning. This challenge provides the foundation for understanding what your unique complexion needs to maintain its natural radiance. The combination of gentle exfoliation, deep hydration, and nourishing ingredients works synergistically to reveal your skin’s inherent luminosity.
Thousands of readers have transformed their complexions using these methods, reporting not just improved texture and tone but a newfound confidence in their bare skin. Remember that consistency matters more than perfection—even implementing a few of these practices regularly will yield noticeable improvements.
Ready to explore more targeted treatments? Check out our [Overnight Brightening Treatment] or [Three-Step Morning Glow Routine] for complementary approaches that build on the foundation you’ve established here.
Your glowing skin journey is personal and ongoing—embrace the process and enjoy watching your complexion transform day by day