Table of Contents
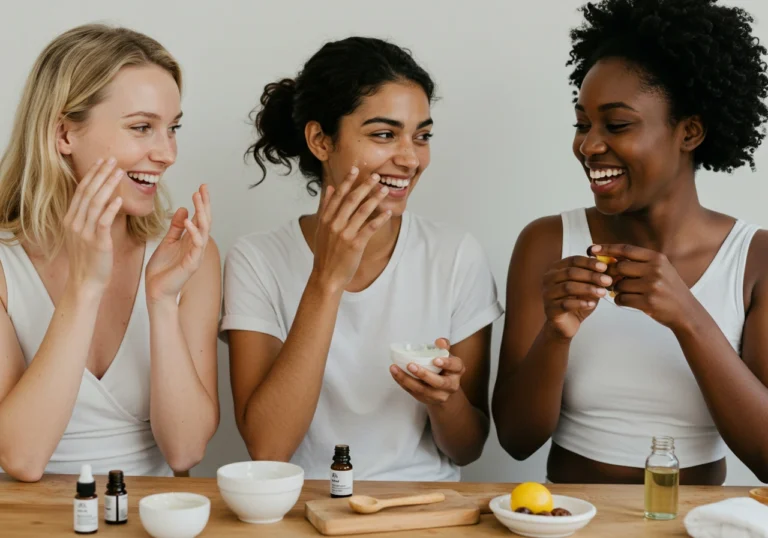
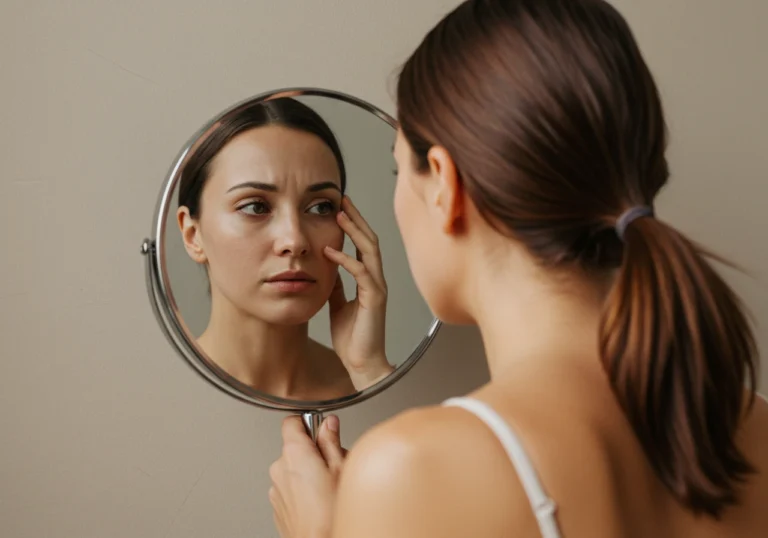
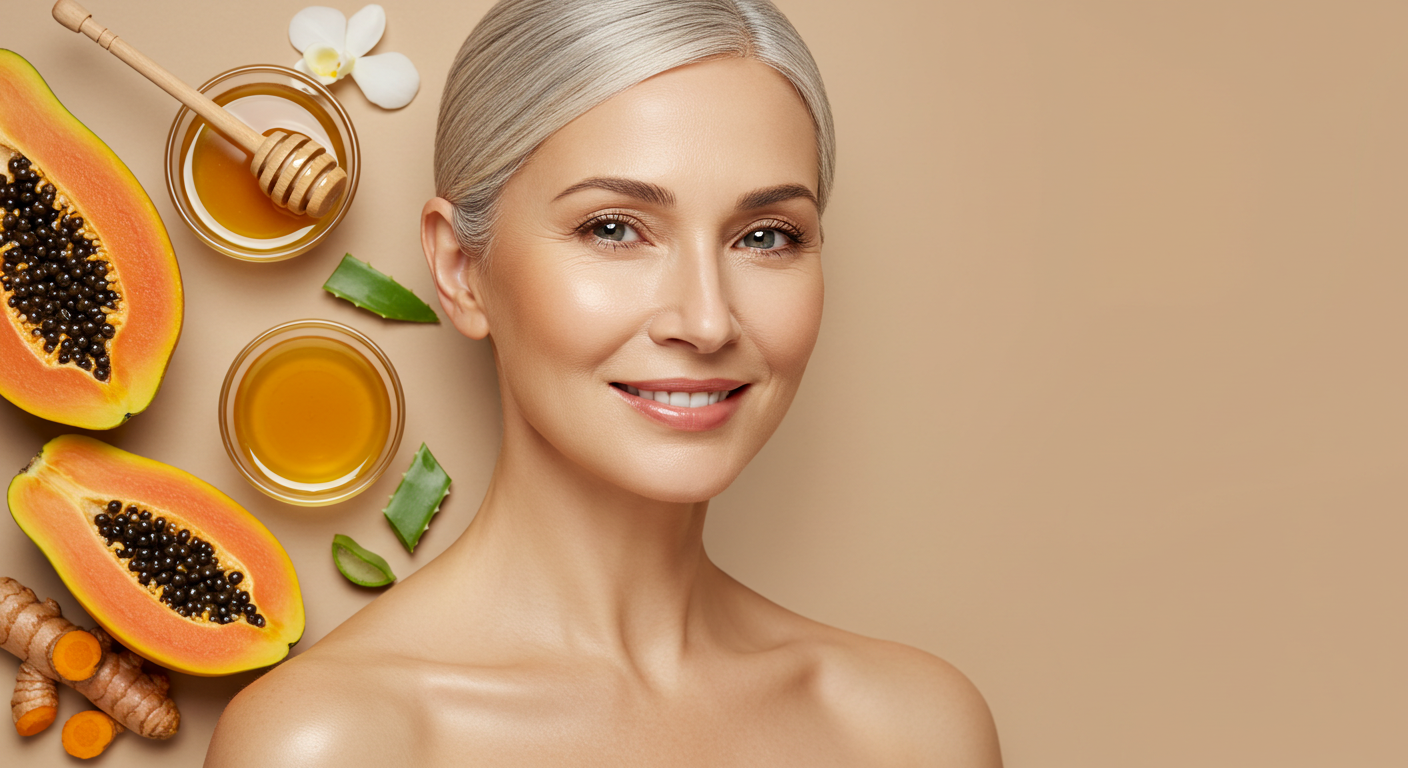
Tired of dull, uneven skin that lacks that natural luminosity? You’re not alone. Many of us struggle to maintain that coveted glow, especially as environmental stressors and aging begin to take their toll on our complexion. The good news? You don’t need expensive treatments or chemical-laden products to revitalize your skin‘s natural radiance.
After nearly a decade testing countless brightening methods and natural remedies, I’ve curated seven truly effective approaches that deliver noticeable results without harsh ingredients. These gentle yet powerful treatments support your skin‘s natural renewal process, encourage even tone, and enhance that sought-after glow we all desire.
In this comprehensive guide, you’ll discover expert-approved ingredients, simple DIY formulations, step-by-step application methods, and customization options for your specific skin concerns. I’ve also included timing recommendations and answered the most common questions to help you incorporate these brightening treatments seamlessly into your skincare routine.
Why These Skincare Remedies Work
The brightening treatments I’m sharing aren’t just pleasant to use—they’re grounded in skin science and traditional wisdom that has stood the test of time. These approaches excel because they:
- Work with your skin‘s natural processes rather than forcing harsh, temporary results
- Contain bioactive compounds that address multiple aspects of skin brightness
- Support gentle exfoliation without compromising your skin barrier
- Enhance hydration, which is fundamental to achieving that coveted glow
- Avoid potentially harmful ingredients that can trigger sensitivity or inflammation
- Deliver cumulative benefits that improve with consistent use
Choosing the Right Ingredients
Top Ingredients for Skin Renewal
The foundation of naturally glowing skin relies on selecting ingredients that work synergistically to brighten, hydrate, and refresh your complexion:
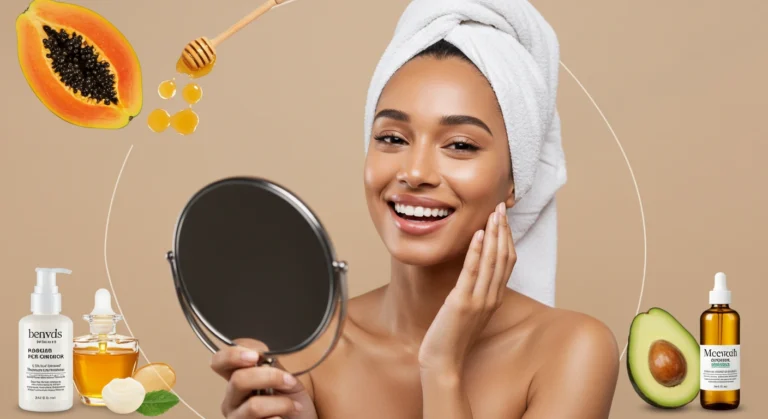
Vitamin C Sources: Citrus fruits, rosehip oil, and amla berry extract are potent antioxidants that help brighten skin tone and protect against environmental damage. These ingredients inhibit melanin production and gradually fade dark spots.
Gentle Exfoliants: Papaya, pineapple, and yogurt contain natural enzymes that dissolve dead skin cells without abrasion. Rice powder and finely ground oats provide mild physical exfoliation while soothing the skin.
Hydration Heroes: Honey works as a natural humectant to draw moisture into the skin while providing antibacterial benefits. Aloe vera gel soothes inflammation while delivering deep hydration.
Nourishing Oils: Avocado oil penetrates deeply to nourish and plump skin cells from within. Jojoba oil mimics your skin‘s natural sebum, making it perfect for all skin types while providing essential fatty acids.
What to Avoid
When pursuing glowing skin naturally, steer clear of these potential irritants:
- Synthetic fragrances, which can trigger sensitization and redness
- Alcohol-based ingredients that strip the skin’s protective barrier
- Harsh physical scrubs that create micro-tears in your skin
- Chemical preservatives like parabens and formaldehyde releasers
- Synthetic dyes that offer no benefit and potential harm
Substitutions
Flexibility is key when creating natural treatments. Here are some effective substitutions if you don’t have certain ingredients:
- Rosewater can replace aloe vera for sensitive skin types
- Greek yogurt can substitute buttermilk in brightening masks
- Olive oil works in place of jojoba or avocado oil
- Raw honey can be replaced with maple syrup (though less antibacterial)
- Licorice root extract is an excellent alternative to vitamin C for sensitive skin
Ingredients & Prep
Prep Essentials
Before applying any treatment, proper preparation ensures maximum effectiveness:
- Cleanse your face thoroughly with a gentle, sulfate-free cleanser
- Open pores with a warm towel compress or brief facial steam (2-3 minutes maximum)
- Always conduct a patch test on your inner wrist 24 hours before trying a new treatment
- Prepare your application space with good lighting and clean tools
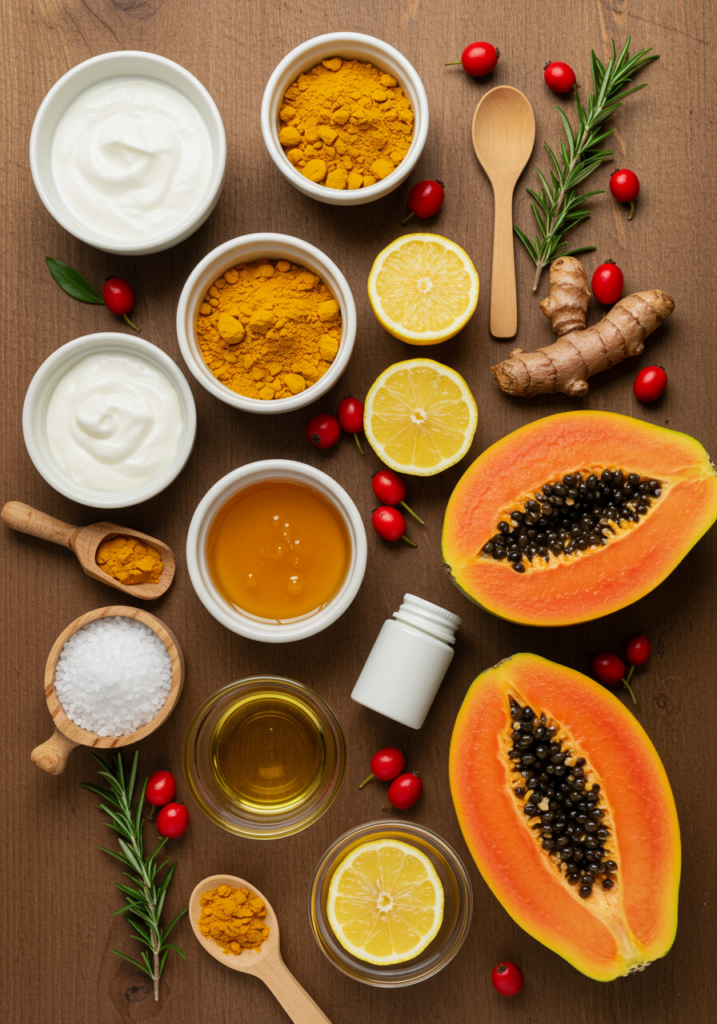
DIY Mask Ingredients
Basic Brightening Mask:
- 1 tablespoon plain yogurt (lactic acid for gentle exfoliation)
- 1/2 teaspoon raw honey (humectant and antibacterial)
- 1/4 teaspoon turmeric powder (brightening and anti-inflammatory)
- 5 drops lemon juice (optional, vitamin C boost)
Enzyme Renewal Mask:
- 2 tablespoons mashed papaya (natural enzymes)
- 1 teaspoon rice flour (gentle exfoliation)
- 1/2 teaspoon avocado oil (deep nourishment)
Hydration Glow Mask:
- 1 tablespoon mashed avocado (fatty acids and vitamins)
- 1 teaspoon aloe vera gel (soothing hydration)
- 1/4 teaspoon matcha powder (antioxidant protection)
Pantry Staples
Most effective brightening treatments can be created using common household ingredients:
- Extra virgin olive oil: Rich in antioxidants and deeply moisturizing
- Rolled oats: Anti-inflammatory and gently exfoliating when ground
- Plain yogurt: Contains lactic acid for natural chemical exfoliation
- Turmeric: Brightening and reduces inflammation
- Raw honey: Antibacterial and deeply hydrating
- Lemon juice: Natural AHA (use sparingly and diluted)
- Green tea: Antioxidant-rich and soothing
Step-by-Step Application Instructions
Before You Begin
- Remove all makeup and cleanse your face thoroughly
- Apply a warm towel to your face for 1-2 minutes to open pores
- Pat skin dry with a clean towel
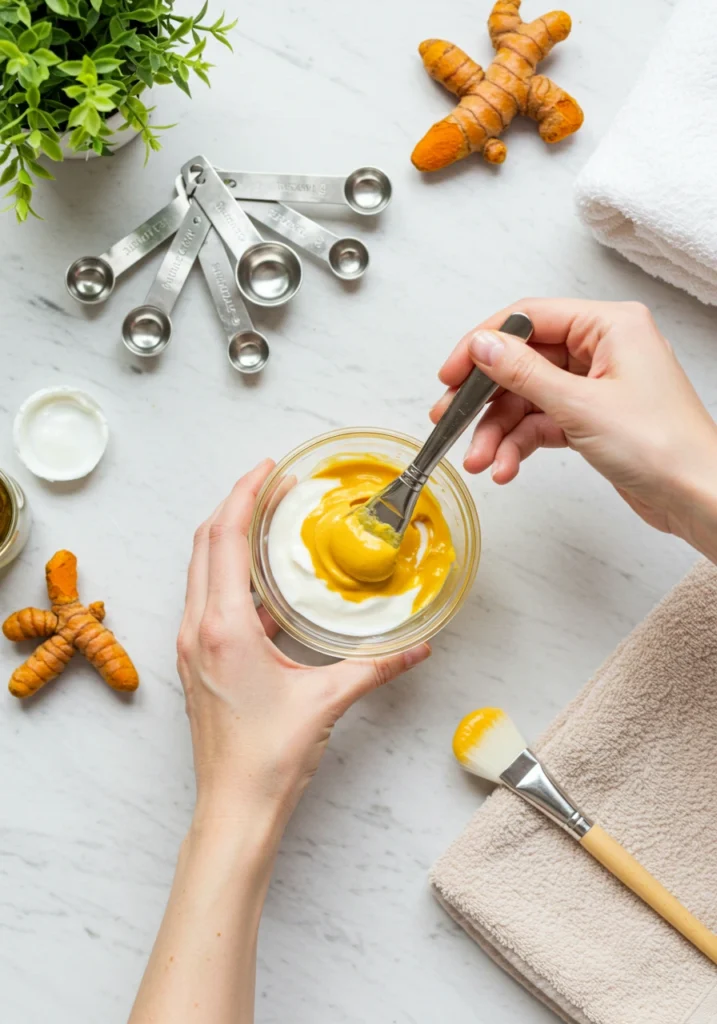
- Prepare your selected mask in a small non-metallic bowl (avoid metal when using acidic ingredients)
How to Apply
- Using clean fingertips or a facial mask brush, apply an even layer of your chosen treatment to clean skin
- Avoid the immediate eye area, nostrils, and lips
- Apply in upward, gentle motions without pulling the skin
- Leave on for the recommended time (typically 10-15 minutes for most treatments)
- Relax in a reclined position to maximize coverage and prevent dripping
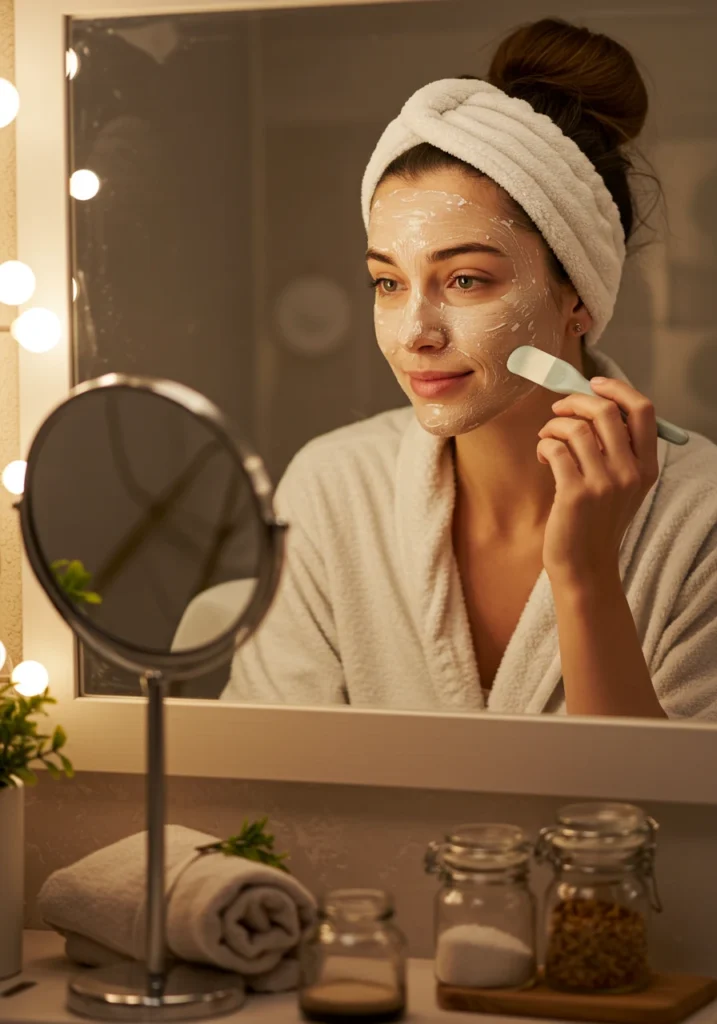
Rinse & Aftercare
- Rinse thoroughly with lukewarm (never hot) water
- Pat (don’t rub) your face dry with a clean, soft towel
- Apply alcohol-free toner to restore pH balance
- Follow immediately with your favorite moisturizer while skin is still slightly damp
- Apply SPF during daytime (especially important after using brightening treatments)
Pro Tips for Radiant Results
Avoiding Irritation
- Always conduct a patch test 24 hours before trying new ingredients
- Start with shorter application times (5-7 minutes) before working up to the full recommended duration
- If you experience tingling that progresses to burning, remove immediately
- Avoid using natural brightening treatments more than twice weekly
- Never apply brightening treatments to broken, sunburned, or actively irritated skin
Recommended Tools
- Silicone mask brush for hygienic, even application
- Small glass bowls for mixing (avoid plastic that can harbor bacteria)
- Measuring spoons for precise ingredient ratios
- Soft microfiber cloths for gentle removal
- Headband to keep hair away from your face during treatment
Storage & Reuse
- Most fresh masks should be used immediately after preparation
- If making extra, store in an airtight glass container in the refrigerator
- Refrigerated masks typically remain effective for 2-3 days maximum
- Discard any stored mask that changes color, texture, or develops an off smell
- Consider making concentrated “bases” that can be activated with fresh ingredients before each use
Custom Variations
For Dryness
Transform any base mask into a hydration powerhouse with these modifications:
- Add 1/4 teaspoon of almond or jojoba oil for lipid replenishment
- Incorporate 1/2 teaspoon of mashed avocado for fatty acid support
- Replace water with coconut milk for additional nourishment
- Include a drop of rosehip oil for intensive repair
- Follow with a heavier moisturizer after rinsing
For Excess Oil
Balance your skin’s sebum production with these adjustments:
- Add 1/2 teaspoon of kaolin or bentonite clay to absorb excess oil
- Use green tea as your liquid base instead of water
- Incorporate 1 teaspoon of cucumber juice for astringent properties
- Include a pinch of powdered neem for its balancing capabilities
- Follow with a lightweight, oil-free moisturizer after treatment
For Sensitivity
Create gentler versions of brightening treatments with these modifications:
- Omit all citrus components completely
- Replace turmeric with a smaller amount of licorice root powder
- Use colloidal oatmeal as a soothing base ingredient
- Add 2-3 drops of chamomile essential oil (properly diluted)
- Reduce application time by 50% for the first several treatments
Best Times to Use These Remedies
Routine Placement
For maximum effectiveness, timing matters when incorporating brightening treatments:
- Evening application is ideal, as many natural brightening ingredients increase photosensitivity
- Apply after cleansing and toning but before serums and moisturizers
- Allow a 24-hour buffer between brightening treatments and chemical exfoliants
- Schedule treatments when you have at least 30 minutes of uninterrupted time for application and removal
Suggested Frequency
Consistency without overuse is key to visible results:
- Most skin types benefit from brightening treatments 1-2 times weekly
- Allow at least 3 days between treatments to prevent sensitization
- Increase to twice weekly only if your skin shows no signs of irritation
- Reduce frequency during periods of increased sun exposure
- Consider a “pulse” approach: 4 weeks on, 2 weeks off to prevent plateau effects
Pre-Event Boost
For special occasions when you want an extra glow:
- Apply a gentle brightening mask 48 hours before your event (never the same day)
- Follow with an overnight hydrating mask the evening before
- On the day of your event, use a brightening sheet mask for 15 minutes maximum
- Apply makeup at least one hour after your final skin preparation
- Keep a facial mist with brightening ingredients handy for touch-ups
FAQs
Is this remedy suitable for sensitive skin?
Most natural brightening treatments can be adapted for sensitive skin by diluting active ingredients and reducing application time. Always patch test first and begin with the gentlest formulations. If you have diagnosed skin conditions like rosacea or eczema, consult your dermatologist before trying new treatments.
How often can I apply these masks?
For most skin types, 1-2 times weekly is ideal. Using brightening treatments too frequently can disrupt your skin barrier and potentially cause irritation. Listen to your skin—if you notice any redness, flaking, or increased sensitivity, reduce frequency immediately.
Can I combine these with other skincare products?
Yes, but timing matters. Avoid using retinoids, AHAs, or BHAs on the same day as your brightening treatments. Wait 24 hours between different active ingredients. Always follow brightening treatments with adequate moisturization and daytime sun protection.
How long until I see results?
Most people notice immediate improvements in skin texture and temporary brightening after the first application. For lasting changes in skin tone and persistent dark spots, consistent use over 4-6 weeks is typically needed. Patience and consistency are key for natural approaches.
Are these treatments safe during pregnancy?
Many natural ingredients require caution during pregnancy. Specifically avoid treatments containing essential oils, retinol derivatives, and high concentrations of salicylic acid. Always consult your healthcare provider before starting any new skincare regimen during pregnancy.
Can men use these brightening treatments too?
Absolutely! Men’s skin benefits equally from these treatments, though they may prefer lighter textures due to typically higher oil production. The application process and ingredients work effectively regardless of gender.
Will these treatments help with acne scars?
Natural brightening treatments can help fade post-inflammatory hyperpigmentation (the red or brown marks left after acne). For textured or indented scars, these treatments will provide modest improvements but may need to be complemented with professional treatments for significant results.
Conclusion
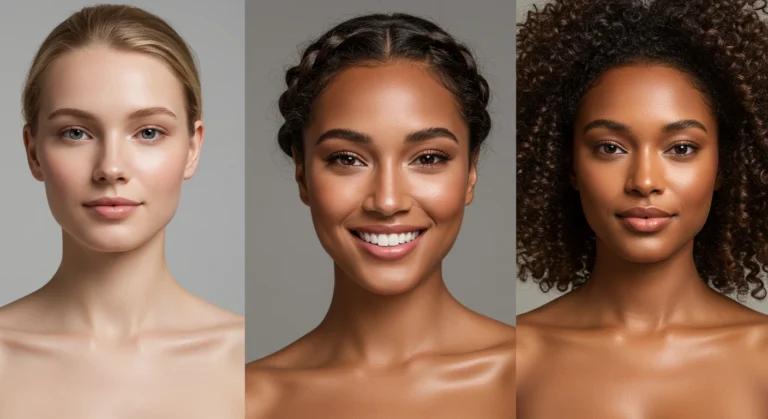
Achieving naturally glowing skin doesn’t require expensive products or invasive procedures—just consistent care with the right ingredients. These seven brightening treatments harness nature’s most effective elements to reveal your skin‘s natural radiance while supporting its long-term health.
By incorporating these gentle yet effective remedies into your regular routine, you’ll likely notice improvements in overall brightness, evening of skin tone, and a fresh-faced glow that looks genuinely healthy rather than artificially produced.
Remember that true luminosity comes from within: stay hydrated, maintain a nutrient-rich diet, protect your skin from excess sun exposure, and prioritize quality sleep. These lifestyle factors work synergistically with topical treatments to create that coveted natural glow.
Ready to transform your complexion? Begin with our Enzyme Renewal Treatment for a gentle introduction to natural brightening, then explore our complete collection of Skin-Balancing Tonics for daily radiance support