
Table of Contents
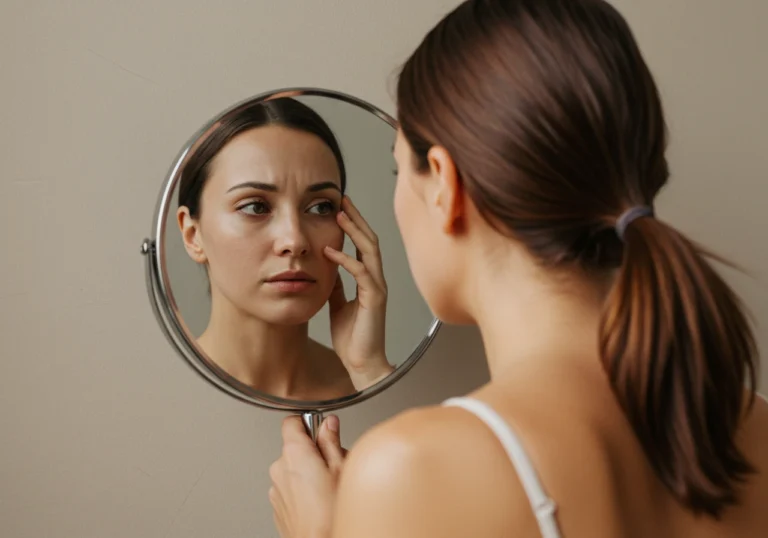
Are you tired of looking in the mirror only to see dull, uneven skin that’s lost its youthful firmness? In today’s world of endless skincare products with long ingredient lists and high price tags, it’s easy to overlook the simple, natural solutions right in your kitchen.
The honey face mask is a time-tested natural remedy that helps restore elasticity, boost hydration, and reduce the appearance of fine lines—all while giving your skin that coveted healthy glow. After years of experimenting with homemade skincare remedies and formulations, I’ve discovered that honey-based masks consistently deliver the most impressive results for almost all skin types.
In this comprehensive guide, I’ll walk you through everything you need to create an effective honey face mask at home—from selecting premium ingredients and proper preparation to step-by-step application techniques and customization options for your specific skin concerns. You’ll also find expert tips, storage advice, and answers to frequently asked questions to help you achieve professional-quality results.
Why This Skincare Remedy Works
- Formulated with gentle, skin-loving ingredients that work with your skin‘s natural processes
- Supports deep hydration and enhances your natural glow without artificial shine
- Contains no harsh chemicals, synthetic fragrances, or artificial additives that can irritate skin
- Delivers immediate softening effects while gradually improving skin texture over time
- Accessible and affordable compared to commercial treatments with similar ingredients
The beauty of a honey face mask lies in its simplicity and effectiveness. Honey naturally contains enzymes and antioxidants that benefit skin health, while its humectant properties draw moisture from the air into your skin. This natural ingredient has been used for centuries in skincare rituals across cultures—and modern research continues to validate its remarkable benefits.
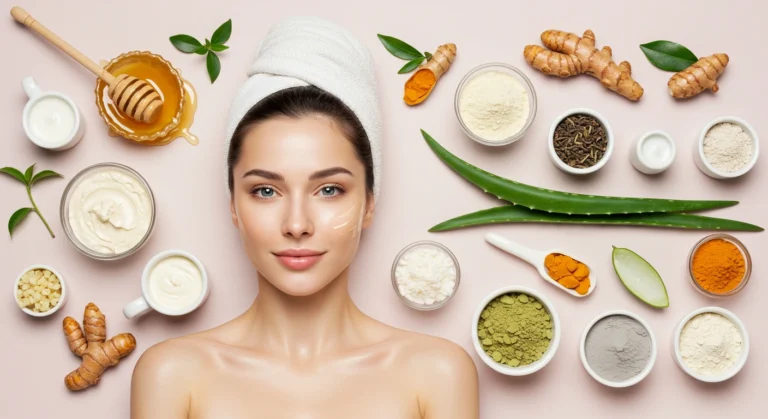
Choosing the Right Ingredients
Top Ingredients for Skin Renewal
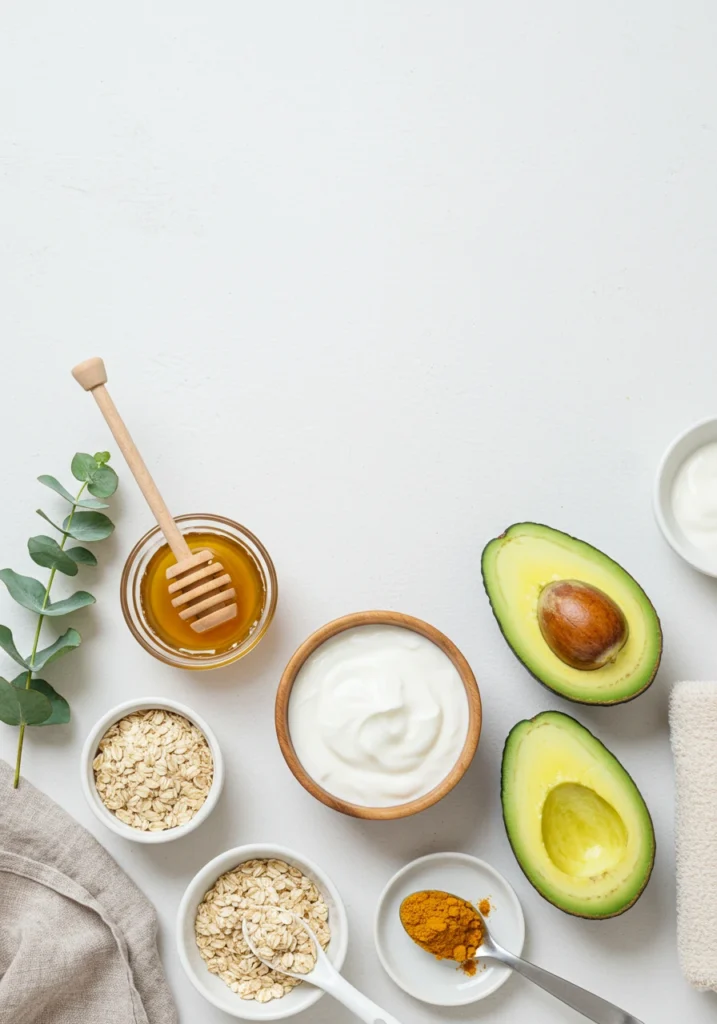
- Honey: The cornerstone ingredient that provides natural antibacterial properties while delivering intense hydration and gentle exfoliation
- Yogurt: Contains lactic acid that helps smooth texture and brighten tone while probiotics support your skin‘s microbiome
- Avocado: Packed with vitamins E and C along with healthy fats for deep nourishment and improved elasticity
- Oatmeal: Soothes inflammation and irritation while providing gentle physical exfoliation
- Turmeric: A powerful anti-inflammatory that brightens complexion and helps reduce hyperpigmentation
When selecting honey, opt for raw, unfiltered varieties when possible. These retain more of the beneficial enzymes and nutrients that processed honey loses during heating. Manuka honey offers additional antibacterial properties if you’re targeting breakouts alongside anti-aging concerns.
What to Avoid
- Products containing denatured alcohols that can strip skin of natural oils
- Strong synthetic fragrances that may trigger reactions or sensitivity
- Citrus juices directly on skin, which can cause photosensitivity
- Cinnamon, which may irritate even non-sensitive skin types
- Pre-mixed honey products with added sugars or preservatives
For maximum benefits, prioritize quality over quantity. A small amount of high-quality raw honey delivers better results than larger amounts of processed varieties.
Substitutions
- Replace regular honey with manuka honey for enhanced antibacterial benefits
- Substitute plain yogurt with Greek yogurt for a thicker consistency
- Use rosewater instead of plain water for added soothing benefits
- Replace avocado with mashed banana for similar moisturizing effects
- Swap ground oatmeal with ground almonds for different exfoliation texture
Ingredients & Prep
Prep Essentials
Before mixing your honey face mask, proper preparation ensures optimal results:
- Cleanse your face thoroughly with a gentle, pH-balanced cleanser
- Lightly steam your face for 2-3 minutes to open pores (hover over a bowl of hot water or use a warm washcloth)
- Perform a patch test with your intended ingredients on your inner wrist or behind your ear
- Prepare your workspace with clean tools and fresh ingredients
Taking these preliminary steps maximizes ingredient penetration and effectiveness while minimizing the risk of irritation.
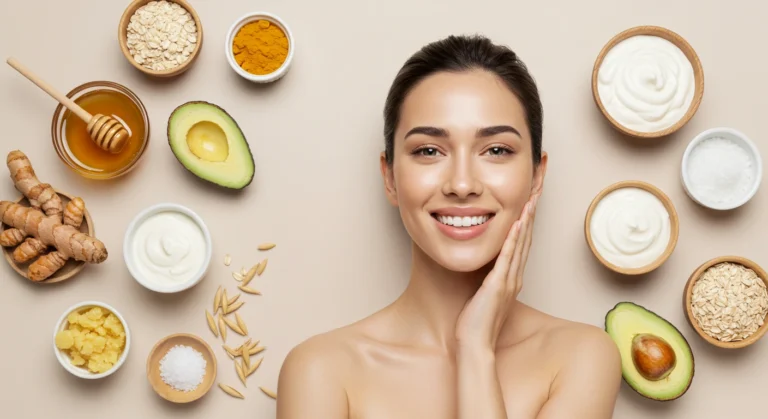
DIY Mask Ingredients
- 2 tablespoons raw, organic honey (the cornerstone of the mask)
- 1 tablespoon plain organic yogurt (preferably whole milk)
- 1/2 tablespoon finely ground oatmeal
- 1/4 of a ripe avocado, mashed until smooth
- 1/4 teaspoon turmeric powder (optional)
These measurements create enough for one generous facial application. For best results, adjust quantities slightly based on your skin’s needs—more honey for extra hydration, more yogurt for additional exfoliation.
Pantry Staples
These common kitchen ingredients can enhance your honey face mask:
- Extra virgin olive oil (1/2 teaspoon for extreme dryness)
- Ground oats (1 teaspoon for gentle physical exfoliation)
- Plain Greek yogurt (adds protein and extra lactic acid)
- Ground turmeric (a pinch brightens complexion)
- Raw honey (the key ingredient that makes everything work together)
Quality matters—organic ingredients free from pesticides and additives provide the most benefit for your skin without unwanted chemicals.
Step-by-Step Application Instructions
1. Before You Begin
- Ensure your face is completely clean and free of makeup
- Pull hair away from your face with a headband or clips
- Open pores by applying a warm washcloth to your face for 30 seconds
- Have a timer ready to avoid leaving the mask on too long
These preparatory steps create the ideal canvas for your honey face mask to work effectively.
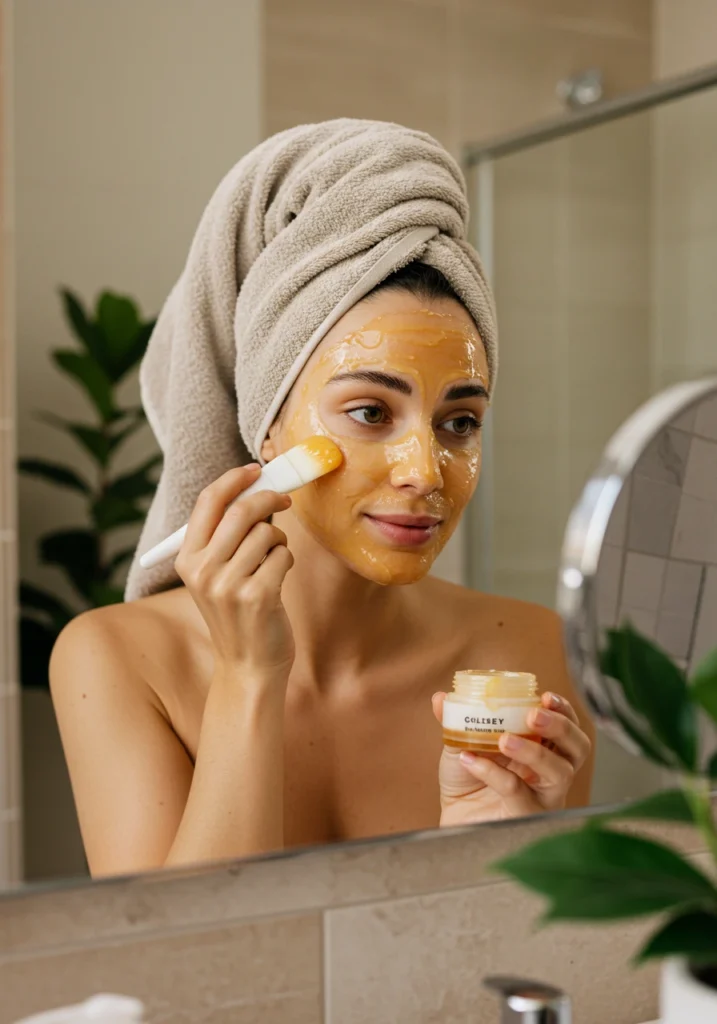
2. How to Apply
- In a small glass bowl, mix honey and yogurt until well combined
- Gently fold in mashed avocado followed by ground oatmeal
- Add turmeric if using, stirring until the mixture is uniform in color
- Using clean fingertips or a facial mask brush, apply an even layer to your face
- Start at the center of your face and work outward with gentle upward strokes
- Leave the mask on for 15-20 minutes (10 minutes for sensitive skin)
The mask should feel comfortable—a slight tingling is normal but burning or intense discomfort means you should remove it immediately.
3. Rinse & Aftercare
- Rinse thoroughly with lukewarm water, using gentle circular motions
- Pat—don’t rub—your face dry with a clean, soft towel
- Apply an alcohol-free toner to restore pH balance
- Follow with your favorite serum while skin is still slightly damp
- Lock in benefits with a moisturizer appropriate for your skin type
- Apply sunscreen if heading outdoors (even on cloudy days)
Your skin should feel noticeably softer and look more radiant immediately after use, with benefits continuing to develop over the next 24 hours.
Pro Tips for Radiant Results
Avoiding Irritation
- Always conduct a patch test 24 hours before applying a new mask formulation
- Start with shorter application times (10 minutes) before gradually increasing
- Avoid the delicate eye area and keep away from nostrils and lips
- If you experience burning or intense discomfort, rinse immediately
- Discontinue use if redness or irritation persists after rinsing
Remember that natural doesn’t automatically mean non-irritating—respect your skin‘s unique sensitivities.
Recommended Tools
- Silicone facial mask brush for even, hygienic application
- Soft bamboo fiber washcloths for gentle removal
- Small glass mixing bowl (plastic can harbor bacteria)
- Measuring spoons for precise ingredient portions
- Headband to keep hair away from your face during treatment
Quality tools enhance both the experience and results of your honey face mask ritual.
Storage & Reuse
- This mask is best used immediately after mixing for maximum potency
- If necessary, refrigerate leftover mask in an airtight container for up to 48 hours
- Allow refrigerated mask to come to room temperature before applying
- Stir well before reusing as ingredients may separate during storage
- Discard any unused portion after 2 days, even if refrigerated
Fresh ingredients yield the best results, so try to mix only what you need for each application.
Custom Variations
For Dryness
- Increase honey to 3 tablespoons for additional hydration
- Add 1/2 teaspoon of sweet almond oil or jojoba oil
- Include 1/2 teaspoon of mashed banana for extra moisture
- Follow with a richer night cream after rinsing
- Consider a few drops of rosehip oil in the mixture for intensive repair
This variation creates a deeply nourishing treatment that helps restore moisture balance to parched skin.
For Excess Oil
- Reduce honey to 1 tablespoon and increase yogurt to 2 tablespoons
- Add 1/2 teaspoon of cosmetic-grade kaolin clay
- Include a drop of tea tree oil (diluted in honey first)
- Follow with a lightweight, oil-free moisturizer
- Consider adding a pinch of powdered charcoal for extra purification
This adjustment helps balance oil production while still providing necessary hydration.
For Sensitivity
- Use only raw honey (2 tablespoons) and oatmeal (1 tablespoon)
- Skip the turmeric completely
- Add 1 teaspoon of calming colloidal oatmeal
- Incorporate 1 tablespoon of aloe vera gel for soothing benefits
- Reduce application time to 7-10 minutes maximum
This gentle variation focuses on calming irritation while still delivering hydration and glow.
Best Times to Use This Remedy
Routine Placement
The honey face mask works best as part of your evening skincare ritual. Nighttime application allows your skin to fully absorb the nourishing ingredients while you sleep, maximizing the repair and renewal process. The slightly tacky texture that might remain after rinsing won’t interfere with sleep but could affect makeup application.
Suggested Frequency
For optimal results without overloading your skin, apply this mask 1-2 times weekly. Consistent use delivers cumulative benefits, while daily application could potentially sensitize skin. Create a regular schedule—perhaps Sunday and Wednesday evenings—to maintain that healthy glow.
Pre-Event Boost
When preparing for a special occasion, apply this honey face mask 24 hours before your event rather than the same day. This timing allows any temporary redness to subside while giving the brightening and firming effects time to fully develop. Follow with gentle, hydrating products in the hours leading up to your event.
FAQs
Is this honey face mask suitable for sensitive skin?
Yes, honey is generally well-tolerated by most sensitive skin types. Its natural antimicrobial properties make it less likely to cause irritation compared to many commercial ingredients. However, always perform a patch test first and consider using the “For Sensitivity” variation that eliminates potential irritants like turmeric.
How often can I apply this honey face mask?
For most skin types, using this mask 1-2 times weekly provides optimal results without overwhelming your skin. Those with very dry skin may benefit from twice-weekly application, while those with oily or acne-prone skin should start with once weekly and adjust based on their skin’s response.
Can I combine this honey face mask with other skincare products?
Yes, this mask integrates well with most skincare routines. Wait 24 hours after using strong exfoliants or retinol products before applying. After rinsing the mask, you can continue with your regular serums and moisturizers. Many people find they need less product following the mask due to improved hydration levels.
Will honey make my face sticky?
When properly rinsed with lukewarm water, the stickiness should be minimal. If you experience residual tackiness, use a gentle toner on a cotton pad to remove any remaining honey before continuing with your skincare routine. The slight tackiness that might remain actually helps lock in moisture.
How long will I need to use this mask before seeing results?
Most people notice immediate improvements in skin hydration and glow after the first application. For more significant benefits like reduced fine lines and improved texture, consistent use over 3-4 weeks is typically necessary. Take “before” photos in natural light to better track your progress.
Conclusion
The honey face mask represents the perfect harmony between time-tested natural wisdom and modern skincare science. By following the five simple steps outlined in this guide—proper preparation, quality ingredient selection, correct application technique, appropriate timing, and suitable aftercare—you can transform your skin with ingredients most of us already have in our kitchens.
What makes this remedy so special is its accessibility and effectiveness. Unlike expensive commercial treatments that often contain fillers and preservatives, this homemade honey face mask delivers pure, concentrated benefits directly to your skin. The immediate glow it provides is matched by long-term improvements in texture, tone, and elasticity when used consistently.
I encourage you to make this mask a regular part of your self-care routine. Not only will your skin thank you with improved radiance and resilience, but you’ll also enjoy the satisfaction of creating an effective skincare treatment with your own hands. Natural beauty isn’t about perfection—it’s about nurturing your skin’s health and letting its natural vitality shine through.
Why not gather your ingredients and try this honey face mask tonight? Your journey to radiant skin is just five simple steps away