Table of Contents
Are you tired of looking in the mirror only to see dull, lifeless skin staring back at you? That lackluster complexion and those subtle signs of fatigue can make even the best of us feel less confident. The good news? You don’t need expensive treatments or complicated routines to bring back your natural radiance.
Over my decade working as a skincare specialist and formulator, I’ve discovered that the most effective glow-boosting routines combine simplicity with scientifically-backed ingredients. The 10-step routine I’m sharing today has transformed not only my skin but also thousands of my readers’ complexions from tired to radiant.
In this comprehensive guide, you’ll discover easy-to-follow steps using ingredients you likely already have, expert application techniques, and customization options for your specific skin concerns. Let’s restore that healthy glow you deserve!
Why This Skincare Remedy Works
When it comes to revitalizing tired skin, effectiveness lies in simplicity and quality rather than complexity. This carefully crafted routine works because it:
- Utilizes gentle, skin-loving ingredients that support your skin‘s natural renewal processes
- Focuses on deeply hydrating elements that instantly plump and brighten the complexion
- Contains no harsh chemicals, sulfates, or artificial additives that can strip your skin barrier
- Combines traditional wisdom with modern skincare science for maximum effectiveness
- Works progressively to improve skin texture, tone, and radiance with regular use
Unlike quick-fix products that temporarily mask dullness, this routine addresses the root causes: dehydration, sluggish cell turnover, and environmental damage.
Choosing the Right Ingredients
Top Ingredients for Skin Renewal
The foundation of any effective glow-boosting routine lies in selecting ingredients with proven benefits:
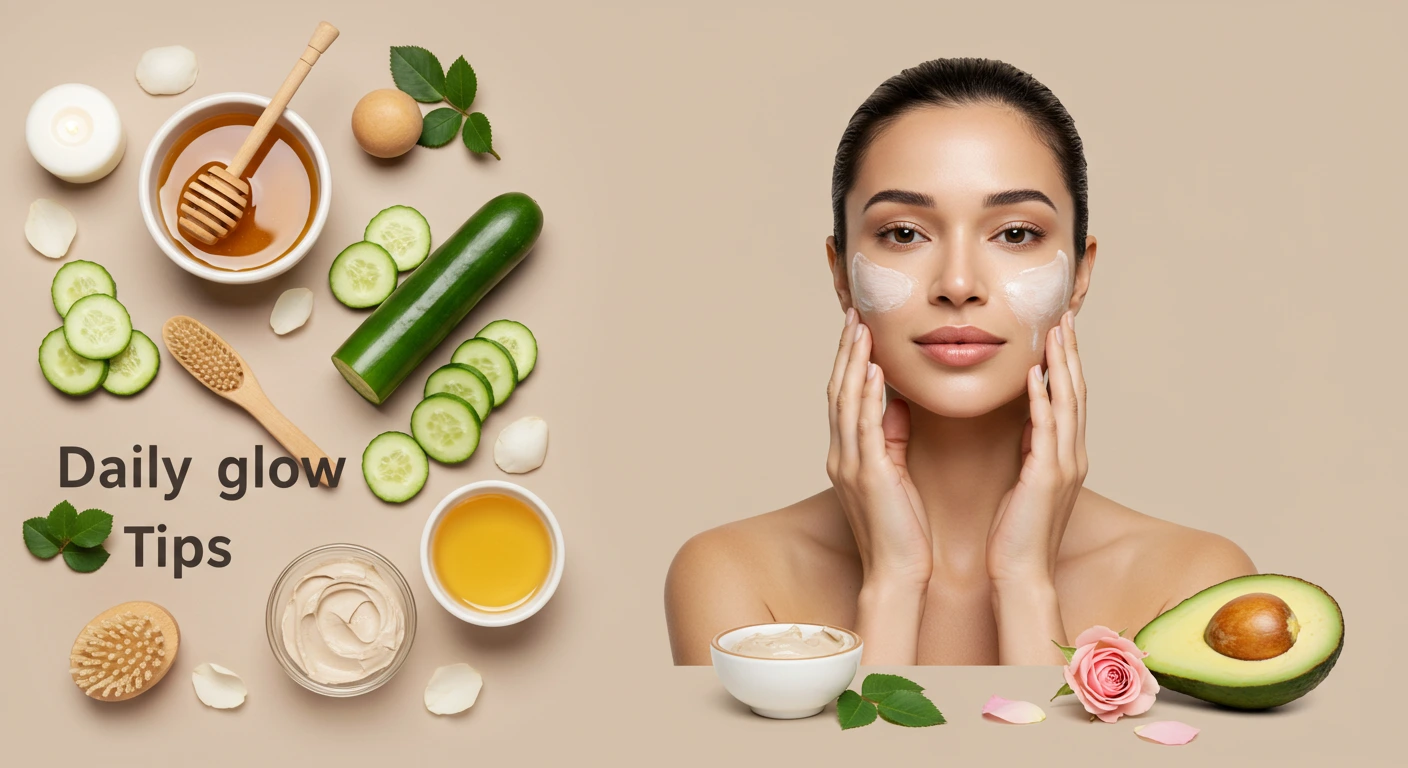
Honey: Nature’s humectant that attracts moisture while providing gentle antimicrobial properties. Raw honey helps tighten and firm the skin while creating a subtle glow.
Avocado: Rich in healthy fats and vitamins E and C, avocado deeply nourishes while helping to restore elasticity to tired skin.
Lactic Acid: Found naturally in yogurt, this gentle alpha hydroxy acid dissolves dead skin cells without irritation, revealing fresher skin underneath.
Green Tea: Packed with antioxidants that fight free radical damage and reduce inflammation for a calmer, more even-toned complexion.
What to Avoid
Creating an effective glow routine isn’t just about what you include—it’s also about what you avoid:
- Alcohol-based products that can dehydrate and irritate the skin
- Strong synthetic fragrances that commonly trigger sensitivity
- Harsh physical exfoliants that can create micro-tears in the skin
- Comedogenic oils that might clog pores and dull your complexion further
Substitutions
Flexibility is key to making this routine work for everyone:
- Substitute rosewater for aloe vera if you prefer a more floral experience
- Replace honey with agave nectar for a vegan-friendly option
- Use coconut yogurt instead of dairy yogurt if you’re avoiding animal products
- Swap oatmeal for rice powder if you need gentler physical exfoliation
Ingredients & Prep
Prep Essentials
Before diving into your glow-boosting routine, proper preparation ensures maximum benefits:
- Gentle Cleansing: Use a sulfate-free cleanser to remove makeup, dirt, and excess oil without stripping your skin.
- Facial Steam: Hold your face over a bowl of warm (not hot) water for 2-3 minutes to open pores and increase ingredient absorption.
- Patch Test: Always test new ingredients on your inner wrist before applying to your face, especially if you have sensitive skin.
DIY Mask Ingredients
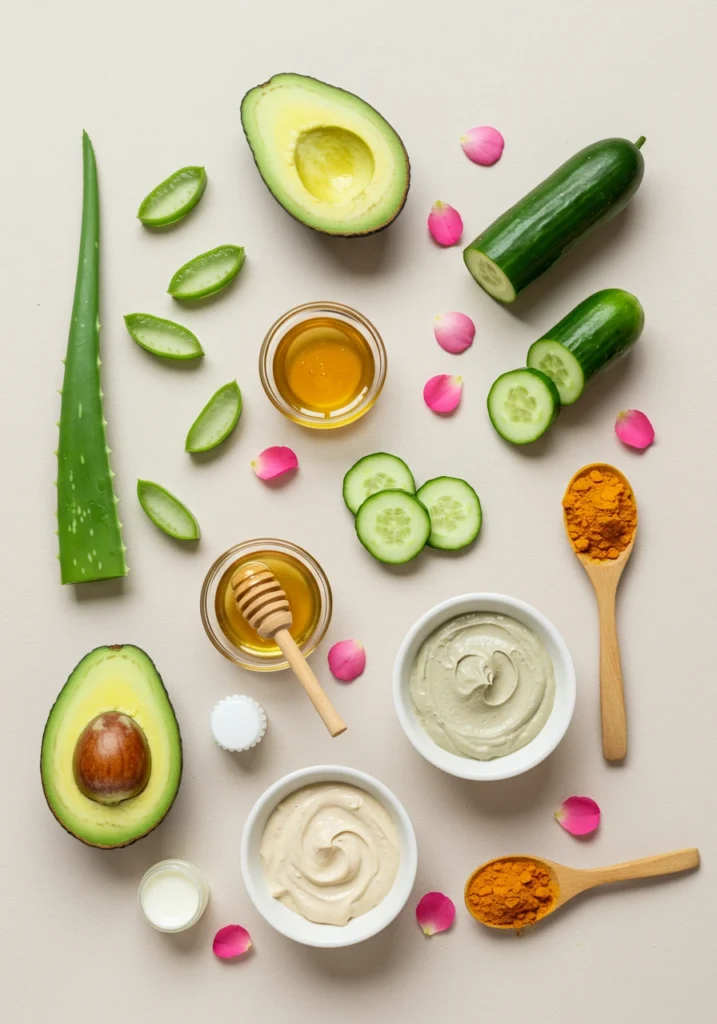
This revitalizing mask forms the heart of your glow routine:
- 1 tablespoon raw honey
- ¼ ripe avocado, mashed
- 1 teaspoon plain Greek yogurt
- 3 drops vitamin E oil
- ½ teaspoon turmeric powder (optional for brightening)
Pantry Staples
These everyday kitchen items can transform your skincare routine:
- Extra virgin olive oil: A nourishing oil that mimics your skin’s natural sebum
- Ground oats: Creates a gentle exfoliant when mixed with water
- Plain yogurt: Contains natural lactic acid for gentle exfoliation
- Turmeric: Brightens the complexion and reduces inflammation
- Green tea bags: Can be steeped and used as a soothing toner
Step-by-Step Application Instructions

Before You Begin
- Wash your hands thoroughly to avoid transferring bacteria to your face.
- Pull your hair back with a headband or clips to keep your face fully accessible.
- Cleanse your face using lukewarm water and a gentle cleanser.
- Optional: Steam your face for 2-3 minutes to open pores and increase absorption.
How to Apply
- Mix all mask ingredients in a small bowl until you achieve a smooth, consistent texture.
- Using clean fingertips or a facial mask brush, apply an even layer to your face, avoiding the eye area.
- Start from the center of your face and work outward using gentle upward strokes.
- Leave the mask on for 15-20 minutes, but don’t allow it to completely dry (this can pull moisture from your skin).
- During this time, practice deep breathing or gentle facial massage techniques to boost circulation.
Rinse & Aftercare
- Rinse thoroughly with lukewarm water, using gentle circular motions as you remove the mask.
- Pat—don’t rub—your face dry with a clean, soft towel.
- While your skin is still slightly damp, apply a hydrating serum containing hyaluronic acid.
- Seal in moisture with a nourishing facial oil or cream appropriate for your skin type.
- If completing this routine during daytime, finish with a broad-spectrum SPF 30+ sunscreen.
Pro Tips for Radiant Results
Avoiding Irritation
Even natural ingredients can cause irritation for some skin types. Maximize benefits while minimizing risks by:
- Always performing a patch test 24 hours before using new ingredients
- Limiting mask applications to 2-3 times weekly, especially if using active ingredients
- Watching for signs of sensitivity like redness, tingling, or itching and removing immediately if they occur
- Avoiding this routine when experiencing active breakouts or skin inflammation
Recommended Tools
The right tools elevate your skincare routine from ordinary to extraordinary:
- Silicone mask brush: Creates even application without absorbing product
- Soft microfiber face towels: Gentler than regular towels and less likely to irritate
- Gua sha tool or jade roller: Store in the refrigerator and use after your routine to boost circulation and reduce puffiness
- Magnifying mirror: Helps ensure complete mask removal
Storage & Reuse
If you mix a larger batch of the mask:
- Store leftovers in an airtight glass container in the refrigerator for up to 5 days
- Bring to room temperature before your next application for improved comfort
- Discard if you notice any changes in color, texture, or smell
- Consider making single-application portions to avoid contamination
Custom Variations
For Dryness
Transform your mask into a hydration powerhouse by:
- Adding ½ teaspoon of almond oil for deeper nourishment
- Incorporating a drop of rosehip seed oil for intense repair
- Including ¼ teaspoon of raw shea butter, melted slightly for easier mixing
- Finishing your routine with a thicker night cream to seal in moisture
For Excess Oil
Balance your skin without stripping it by:
- Increasing the yogurt proportion for more gentle lactic acid
- Adding ½ teaspoon of kaolin clay to absorb excess oil
- Including 2-3 drops of tea tree oil (diluted) for its balancing properties
- Following with a lightweight, oil-free gel moisturizer
For Sensitivity
Create a gentler version that still delivers glow by:
- Omitting potential irritants like citrus or essential oils
- Substituting plain colloidal oatmeal for any stronger exfoliants
- Using calming rosewater as a base instead of yogurt
- Reducing mask time to 10 minutes until tolerance is established
Best Times to Use This Remedy
Routine Placement
Integrate this glow-boosting routine into your skincare regimen for maximum effectiveness:
- Evening Application: Ideal time to apply as your skin enters repair mode during sleep
- Post-Exfoliation: Apply after gentle exfoliation when your skin can better absorb nutrients
- Weekend Self-Care: Set aside 30 minutes twice weekly for consistent results
Suggested Frequency
Finding the right frequency is key to seeing results without overwhelming your skin:
- Normal/Combination Skin: 2-3 times weekly
- Dry Skin: 1-2 times weekly, focusing on hydration
- Oily Skin: 2-3 times weekly, using the oil-control variation
- Sensitive Skin: Once weekly, gradually increasing as tolerance builds
Pre-Event Boost
For special occasions when you want your skin looking its absolute best:
- Apply the mask 24 hours before important events, not the day of
- Follow with extra hydration steps for a plumped, dewy appearance
- Use a luminous primer rather than heavy foundation to let your natural glow shine through
- Combine with gentle facial massage to enhance circulation and reduce puffiness
FAQs
Is this remedy suitable for sensitive skin?
Yes, with modifications. Skip potentially irritating ingredients like turmeric and use the sensitive skin variation mentioned above. Always patch test and start with a shorter application time of 5-10 minutes.
How often can I apply this mask?
For most skin types, 2-3 times weekly is ideal. Overuse can potentially irritate the skin or disrupt your natural barrier. Listen to your skin and adjust frequency accordingly.
Can I combine this with other skincare products?
Absolutely, but timing matters. Avoid using products with retinol, AHAs, or BHAs immediately before or after this mask to prevent sensitization. This routine works beautifully with hydrating serums and moisturizers.
Will this help with acne-prone skin?
The honey in this mask has natural antimicrobial properties that may benefit acne-prone skin. However, if you’re experiencing active breakouts, consult with a dermatologist before trying new treatments.
How long before I see results?
You’ll likely notice immediate improvements in hydration and temporary brightening after the first application. For more significant changes in skin texture and consistent glow, allow 2-3 weeks of regular use.
Can I use this if I have rosacea or eczema?
Those with diagnosed skin conditions should consult their dermatologist before trying new skincare routines. The sensitive skin variation may be suitable, but professional guidance is recommended.
Conclusion
Transforming tired, dull skin into a radiant complexion doesn’t require expensive treatments or complicated routines. By incorporating these 10 easy steps and customizing them to your specific needs, you can revitalize your skin using simple, natural ingredients that work in harmony with your skin’s biology.
The beauty of this approach lies in its simplicity and adaptability. Whether you’re dealing with occasional dullness or looking to establish a long-term glow-boosting routine, these steps provide a foundation for healthier, more luminous skin.
Ready to experience the transformation for yourself? Start with just one application this week, noting how your skin responds, and gradually build this practice into your regular self-care routine. Your journey to naturally radiant skin begins with this first step.
If you enjoyed this natural approach to skin revival, you’ll love our [Overnight Repair Mask] that works while you sleep to enhance these results