Table of Contents
Tired of dull, lifeless skin that refuses to cooperate despite your best efforts? You’re not alone. The search for that elusive radiant glow can feel overwhelming with countless expensive products promising miracles but delivering disappointment.
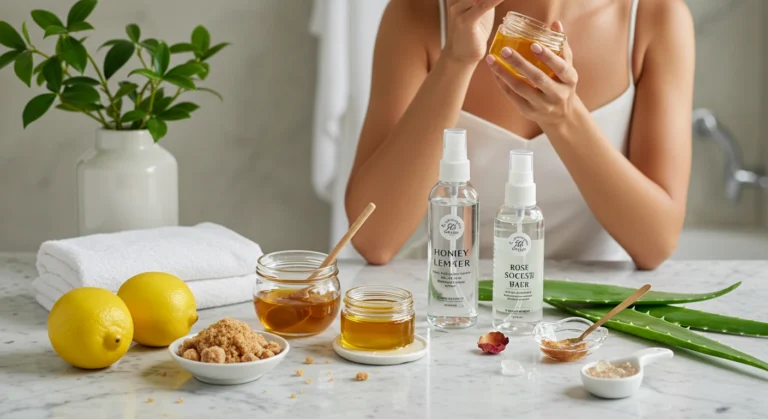
Here’s the good news: your kitchen holds powerful skincare treasures waiting to transform your complexion. These seven homemade face masks harness nature’s purest ingredients to reveal your skin‘s natural luminosity without harsh chemicals or budget-breaking prices.
After years of experimenting with natural skincare remedies and studying their effects, I’ve curated these masks specifically for targeting common concerns like uneven texture, dullness, and early signs of aging. My clients consistently report softer, brighter, and more resilient skin after incorporating these recipes into their routines.
In this guide, you’ll discover everything you need to know about creating effective homemade face masks: carefully selected ingredients, simple preparation methods, proper application techniques, and expert tips to maximize results. Whether you’re a natural skincare veteran or just beginning your Fresh Skin journey, these masks deliver visible results you can feel good about.
Why These Skincare Remedies Work
The power of homemade face masks lies in their simplicity and purity. Unlike commercial products packed with preservatives and fillers, these Fresh Skin masks deliver concentrated benefits directly to your skin:
- Formulated with gentle, skin-loving ingredients that support your skin’s natural functions
- Rich in vitamins, antioxidants, and natural humectants that boost hydration and promote cellular renewal
- Free from harsh chemicals, artificial fragrances, and irritating preservatives that can compromise skin health
- Customizable to address your specific skin concerns and sensitivities
- Contain active enzymes and nutrients that remain intact, delivering maximum potency
- Work harmoniously with your skin‘s natural pH and microbiome
The beauty of these masks extends beyond their effectiveness—they connect you to a timeless skincare tradition that celebrates simplicity, sustainability, and self-care.
Choosing the Right Ingredients
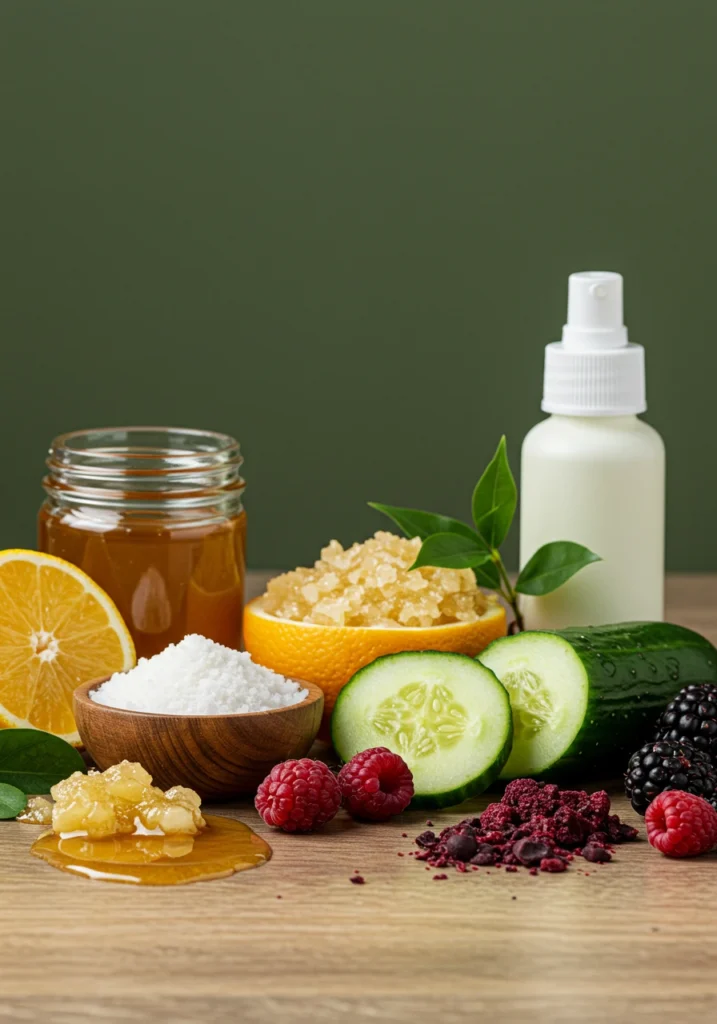
Top Ingredients for Skin Renewal
The foundation of an effective homemade face mask starts with selecting ingredients that target specific skin concerns:
- Honey: A natural humectant with antimicrobial properties that draws moisture to the skin while gently firming and brightening
- Avocado: Rich in healthy fats and vitamins E and C to deeply nourish and support collagen production
- Greek Yogurt: Contains natural lactic acid that gently exfoliates while probiotics help balance skin’s microbiome
- Oatmeal: Soothes inflammation and irritation while providing gentle physical exfoliation
- Turmeric: Powerful anti-inflammatory and antioxidant that reduces redness and promotes even skin tone
- Aloe Vera: Calms irritation while delivering deep hydration and supporting healing
- Papaya: Contains natural enzymes that dissolve dead skin cells and brighten complexion
What to Avoid
Even natural ingredients can cause irritation for some skin types. Generally avoid:
- Citrus juices applied directly (too acidic and potentially photosensitizing)
- Strong essential oils without proper dilution
- Raw egg whites (potential salmonella risk)
- Cinnamon or nutmeg in high concentrations (can be irritating)
- Baking soda (disrupts skin’s natural pH balance)
Substitutions
Don’t worry if you’re missing an ingredient—these alternatives work beautifully:
- Substitute rosewater for aloe vera gel for a more aromatic, soothing experience
- Replace honey with maple syrup or agave nectar for vegan options
- Use coconut yogurt instead of dairy yogurt for sensitive or lactose-intolerant skin
- Substitute ground flaxseed for oats if sensitivity is a concern
Ingredients & Prep
Prep Essentials
Before diving into mask creation, properly prepare your skin and workspace:
- Cleanse thoroughly: Remove all makeup and impurities using a gentle cleanser
- Steam your face: Hold your face over a bowl of hot water (not boiling) for 2-3 minutes to open pores (optional but beneficial)
- Patch test: Apply a small amount of your chosen mask behind your ear or on your inner wrist to test for reactions
- Gather tools: Collect mixing bowls, measuring spoons, and application tools
- Pull hair back: Secure hair away from face to avoid mess
DIY Mask Ingredients
Here are the 7 Fresh Skin masks with their core ingredients:
1. Honey Glow Renewal Mask
- 1 tablespoon raw honey
- ½ teaspoon turmeric powder
- 1 teaspoon plain Greek yogurt
2. Avocado Moisture Infusion
- ¼ ripe avocado, mashed
- 1 teaspoon olive oil
- 1 teaspoon honey
3. Oatmeal Calm & Brighten
- 2 tablespoons ground oatmeal
- 1 tablespoon plain yogurt
- ½ teaspoon honey
- Optional: 2 drops lavender essential oil
4. Papaya Enzyme Exfoliation
- 2 tablespoons ripe papaya, mashed
- 1 teaspoon honey
- ½ teaspoon plain yogurt
5. Green Tea Antioxidant Boost
- 1 tablespoon brewed green tea (cooled)
- 1 teaspoon matcha powder
- 1 tablespoon aloe vera gel
6. Yogurt & Cucumber Soothe
- 2 tablespoons plain Greek yogurt
- 1 tablespoon cucumber, finely grated and drained
- ½ teaspoon honey
7. Banana Hydration Repair
- ¼ ripe banana, mashed
- 1 teaspoon honey
- 1 teaspoon olive or jojoba oil
Pantry Staples
Keep these versatile skincare ingredients on hand for Fresh Skin masks anytime:
- Olive oil: Rich in antioxidants and fatty acids that nourish dry skin
- Oats: Anti-inflammatory properties soothe irritation and gently exfoliate
- Plain yogurt: Natural lactic acid helps refresh and renew skin’s surface
- Honey: Antimicrobial properties help purify while attracting moisture
- Turmeric: Brightens and reduces inflammation for more even tone
- Aloe vera gel: Deeply hydrating and calming for sensitive or irritated skin
- Green tea: Packed with antioxidants that help protect against environmental damage
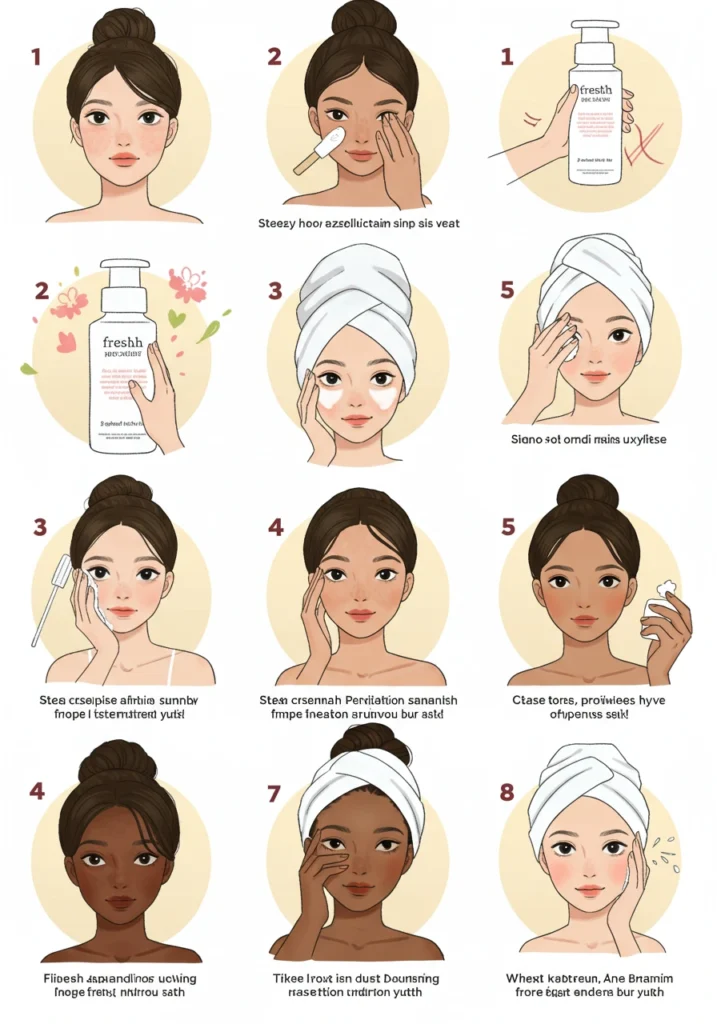
Step-by-Step Application Instructions
Before You Begin
- Perform your mask preparation after cleansing but before serums or moisturizers
- Set aside 15-20 minutes of uninterrupted time for the full mask experience
- Apply masks to slightly damp skin for better spreadability and absorption
- Have a clean washcloth ready for removal
How to Apply
- Mix your chosen mask ingredients in a small bowl until well combined
- Using clean fingertips or a facial mask brush, apply an even layer to your face, avoiding the eye area and lips
- Apply mask in upward, gentle motions to ensure even coverage
- Leave the mask on for the recommended time (typically 10-15 minutes)
- Relax in a comfortable position while the mask works its magic
Rinse & Aftercare
- Rinse thoroughly with lukewarm water (never hot) using gentle circular motions
- Pat—don’t rub—your face dry with a clean towel
- Follow immediately with your favorite hydrating toner while skin is still slightly damp
- Apply your regular serums and moisturizer to seal in the benefits
- For daytime mask sessions, always finish with SPF protection
Pro Tips for Radiant Results
Avoiding Irritation
- Always perform a patch test 24 hours before applying a new mask
- Start with shorter application times (5-7 minutes) and gradually increase as your skin adapts
- If you experience tingling that transitions to burning, remove the mask immediately
- Avoid applying masks to broken skin, active breakouts, or irritated areas
- Less is more—a thin, even layer is more effective than a thick application
Recommended Tools
- Silicone mask applicator brush for mess-free, even application
- Small glass or ceramic bowls for mixing (avoid plastic that can harbor bacteria)
- Measuring spoons for precise ingredient ratios
- Clean hand towels designated specifically for skincare
- Headband or clips to keep hair away from face
- Timer to prevent leaving masks on too long
Storage & Reuse
- Fresh masks work best when used immediately after preparation
- If needed, refrigerate leftover mask mixture in an airtight container for up to 48 hours
- Never reuse mask mixture that has been applied to your face
- For convenience, pre-measure dry ingredients and store in labeled containers
- Freeze single portions of mashed fruit in ice cube trays for quick mask preparation
Custom Variations
For Dryness
Transform any base mask into a hydration powerhouse:
- Add ½ teaspoon of almond oil or jojoba oil for deep moisture
- Mix in a few drops of pure vegetable glycerin to attract moisture
- Incorporate ¼ teaspoon of mashed avocado for extra nourishment
- Add a few drops of rosehip oil to support skin barrier function
For Excess Oil
Balance oily skin without stripping:
- Increase yogurt content for gentle lactic acid treatment
- Add ½ teaspoon of kaolin or bentonite clay to absorb excess oil
- Incorporate a few drops of witch hazel for natural astringent properties
- Use green tea as a base instead of water or oils
For Sensitivity
Adapt any mask for delicate skin:
- Skip potential irritants like citrus or strong essential oils
- Substitute calming rosewater or chamomile tea as liquid bases
- Add a teaspoon of colloidal oatmeal for soothing properties
- Use honey as your primary ingredient for gentle treatment
- Reduce treatment time by 5 minutes
Best Times to Use These Remedies
Routine Placement
Integrate these Fresh Skin masks into your existing skincare routine:
- Best applied in your evening routine when skin naturally repairs
- Use after cleansing but before applying serums and moisturizers
- Allow 10-15 minutes of dedicated self-care time for maximum benefit
- Follow with your regular nighttime products to seal in the benefits
Suggested Frequency
Consistency is key for visible results:
- Use gentle masks (honey, oatmeal, yogurt) up to 2-3 times weekly
- Limit more active masks (those with fruit enzymes) to once weekly
- Alternate between different mask types to address various skin concerns
- Pay attention to your skin’s response and adjust frequency accordingly
Pre-Event Boost
Maximize glow for special occasions:
- Apply a hydrating mask 1-2 days before important events
- Use brightening masks (with papaya or yogurt) the evening before
- Avoid trying new mask ingredients right before special occasions
- Follow with a gentle facial massage during removal to boost circulation
FAQs
Is this remedy suitable for sensitive skin?
Most of these masks can be adapted for sensitive skin by making simple modifications. Start with the gentlest options like plain honey or oatmeal-based masks, and avoid ingredients with stronger active components like papaya enzymes. Always patch test, use fewer ingredients, and limit application time to 5-7 minutes initially. If you have diagnosed skin conditions like rosacea or eczema, consult with a dermatologist before trying any new skincare remedy.
How often can I apply these masks?
The ideal frequency depends on your skin type and the specific mask. Generally, hydrating masks (avocado, honey) can be used 2-3 times weekly, while more active treatments (papaya, yogurt) should be limited to once per week. Pay attention to your skin’s response—if you notice any irritation or unusual dryness, reduce frequency. For best results, establish a consistent schedule rather than using masks sporadically.
Can I combine these with other skincare products?
Yes, these Fresh Skin masks complement most skincare routines. Apply them after cleansing but before serums, oils, and moisturizers. However, avoid using masks on the same day as chemical exfoliants (AHAs/BHAs), retinoids, or prescription treatments unless advised otherwise by your dermatologist. Allow your skin 24 hours between using active ingredients and masks to prevent over-exfoliation or irritation.
How can I preserve leftover mask mixture?
While masks are most effective when freshly prepared, you can store leftover mixture in an airtight container in the refrigerator for up to 48 hours. Keep in mind that the active enzymes and nutrients begin degrading after preparation, so the efficacy will decrease with time. Never reuse mask material that has already been applied to your face. For convenience, consider preparing single-use portions.
Will these masks help with acne or breakouts?
Several of these masks contain ingredients that may help with mild acne. Honey offers antimicrobial properties, yogurt provides gentle exfoliation, and green tea delivers anti-inflammatory benefits. However, these masks are not treatments for severe or persistent acne. For masks targeting breakout-prone skin, focus on the yogurt and honey varieties, avoid oil-heavy formulations, and consider adding a small amount of turmeric for its anti-inflammatory properties.
Conclusion
Your journey to radiant, glowing skin doesn’t require expensive products or complicated routines. These seven Fresh Skin homemade face masks harness the power of natural ingredients to address multiple skin concerns while providing a moment of self-care in your busy life.
With consistent use, you’ll notice improved texture, enhanced luminosity, and a more balanced complexion. The satisfaction of creating effective skincare treatments from wholesome ingredients adds another dimension to your beauty routine—one that honors both your skin and the environment.
Try incorporating these gentle yet powerful remedies into your weekly routine and watch as your skin transforms. Start with the mask that best addresses your primary concern, then experiment with others as your skin’s needs evolve with seasons, stress levels, and age.
Remember, beautiful skin comes from consistency, not complexity. Your Fresh Skin journey begins in your kitchen with ingredients you can trust and results you can see.
Ready for more natural skincare wisdom? Explore our [Overnight Brightening Remedies] next for round-the-clock radiance!